 Comment #4, that’s Melissa! Congratulations!
Have a wonderful weekend! Hugs and smiles


Good morning and welcome to a very special blog hop! I am excited to announce my participation and publication in the new Copic Coloring Guide, Level 3: People!
Authors Colleen Schaan and Marianne Walker have partnered up again with the team at Annie’s and some of the most talented artists and designers in the industry to bring you a quality publication packed full of techniques, theory, tutorials, and inspiration. The 64-page book is the next step in the Coloring Guide series, offering information and educational material for crafters of all skill levels.
From the how and why behind picking colors and coloring skin to the tips and techniques for coloring hair to the helpful hints on how to create realistic looking clothing and fabric, this book presents information in an easy-to-follow format.
An included CD contains all of the hand-drawn images used in the tutorial section of the book, along with the assembly instructions for all of the projects, and a number of blank reference charts.

Copic Coloring Guide Level 3: People is now available at many stamping and scrapbooking stores. Visit your local store today and ask about availability. It is also sold through the Annie’s catalog, accessible online at Annie’s.
Thanks so much for stopping by! Good luck on winning a copy of that book! Have a wonderful weekend!
Hugs and smiles
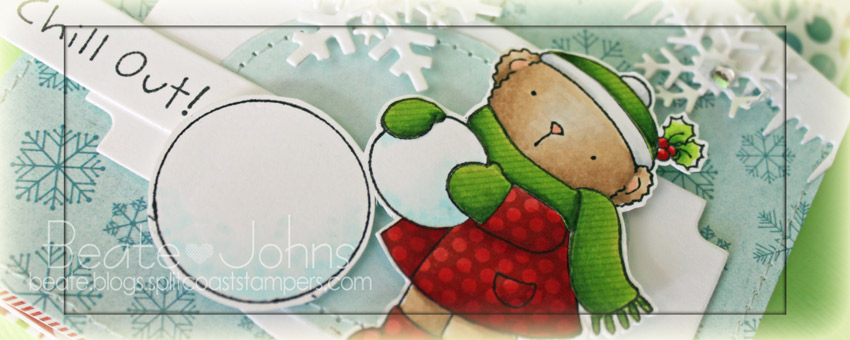
Yesterday’s new tutorial on Splitcoaststampers was for the Concertina or Cascading Card. Cherie Franklin is the author, I shot the video. For my sample my main image is from MFT’s darling Snow Angel stamp set. The image was stamped in Tuxedo Black Memento Ink on Neenah Solar White cardstock. It was colored with Copic Markers (Green: YG01, YG03, YG17 Red: R20, R22, R24, R29 Fur: E41, E42, E43 Snow: B0000, B000 Ear/Nose: R20, E40) and cut out.
It was also stamped in My Mind’s Eye Winter Wonderland paper (red paper) and Carta Bella Merry & Bright patterned paper. The paper pieces were shaded with Copics, cut out, run through my Xyron and adhered to the cardstock image.
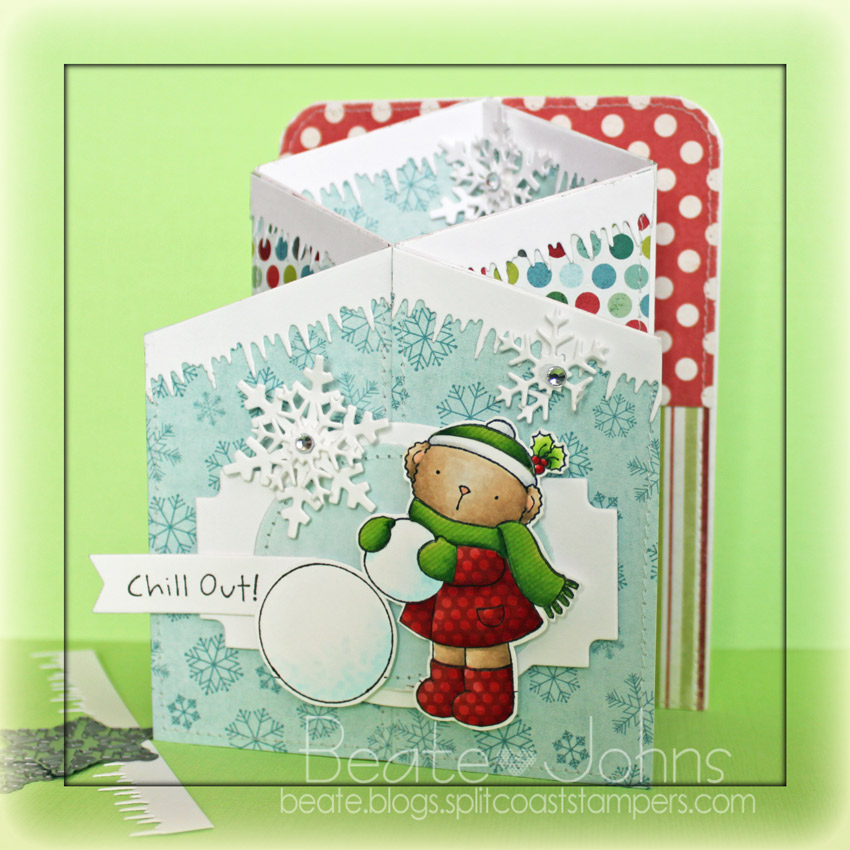
Winter Wonderland patterned paper was used to decorate the card sides. The top corners were rounded and the top of the slanted pieces were topped with Solar White cardstock that was cut with Icicle Border Die-namics die. The two larger Layered Label dies were used to create layers to place my image on.
More white cardstock was cut with the two smaller dies from Let it Snowflake die-namic dies, stacked and topped with a rhinestone from a Sleek Strips Silver Rhinestones. Last I stamped a sentiment from Snow Angel on a piece of cardstock with a sentiment strip die.
Here is a video for the visual learner:
[youtube]https://www.youtube.com/watch?v=Whpy-eDRcac[/youtube]
Thanks so much for stopping by! Have a wonderful day!
Hugs and smiles
|
|
Today Splitcoast is posted a product review on Xyron‘s new 1″ Mini Sticker Maker and the new glue stick. I used both products on a card I created for last week’s Free For All Challenge.
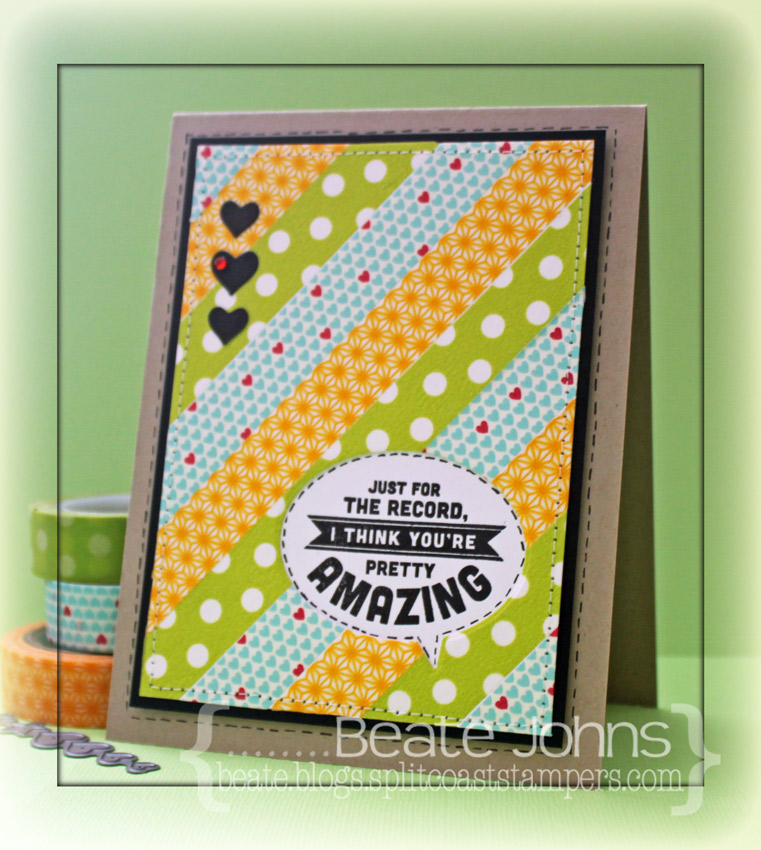
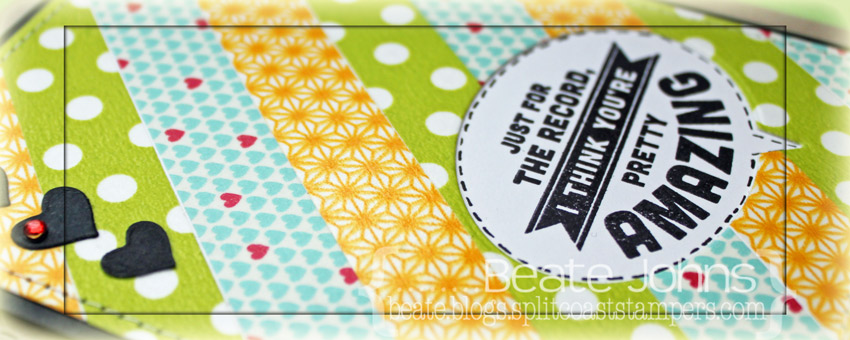
I had recently discovered Freckled Fawn Washi tape and was eager to use it on a card. For this card, I covered a 3 1/2″ x 4 3/4″ piece of Neenah Solar White cardstock with three different tapes. The edges were stitched and one of SimonSaysStamp Talk Bubbles die was used to cut a window on the lower right hand corner.
A sentiment from SimonSaystamps For the Record was stamped in Jet Black Archival ink on Solar White cardstock. It was adhered (with Xyron Glue stick) behind the window before the layers were adhered to a 3/16″ bigger piece of black cardstock. A border was drawn with aCopic Multiliner on the inside edge of the talk bubble.
Hearts were cut out of black cardstock with the Holiday Shapes die. Three were adhered to the upper left hand side and one little red baby bling rhinestone was added to the biggest heart. The layers were adhered to the card base, a 4 1/4″ x 11″ piece of Kraft cardstock folded in half with foam adhesive squares. A border was doodled around the big layer to finish off the card.
If you haven’t checked out Freckled Fawn yet, get yourself something to drink, sit in a comfortable chair and go and check it out. It’s Washi Tape heaven!!! Their tapes are so pretty and I love how they staged their product photos. If you like their product, please go and like Freckled Fawn and Simonsaysstamp on facebook. Freckled Fawn was sweet enough to sponsor a little Washi Tape giveaway.
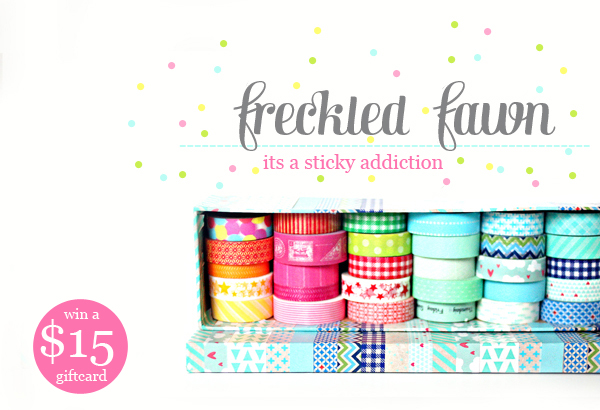
To enter be eligible for the drawing, just leave a comment under this post AND like Freckled Fawn on facebook. I will pick a winner with the help of random.org this Saturday! You will love this tape. Good luck with the drawing!!!
P.S.: When you go to the Freckled Fawn Facebook page, please post that I sent you. This way I know you were there and liked them. Thank you!
Thanks so much for stopping by! Have a wonderful day!
Hugs and smiles
|
|

Edna’s Hope You Can Cling to challenge is to create a card with five words on it. I pulled out quite a few sets before I settled on the words and dies for my entry. I wanted to use different fonts for my adjective, so I used three different sets.
I started by cutting you and are out of Neenah Solar White cardstock with MFT’s High Rise Alpha Lowercase dies. I stamped a word from each First Class Friend, Complimentary Greetings and Well Worn My Favorite Things stamp sets in Jet Black Archival ink and cut them out.
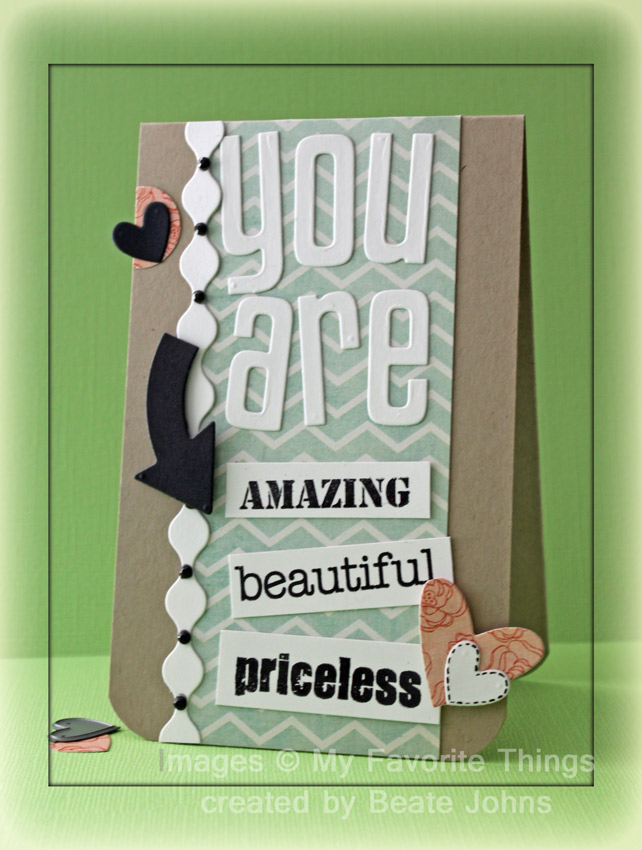
The card base is a 3 1/2″ x 11″ piece of Kraft cardstock, folded in half. The bottom corners were rounded. A 2 1/4″ x 5 1/2″ wide strip of My Mind’s Eye The Sweetest Thing Tangerine paper was to the center of the card front. A strip of white paper was cut with the Squiggle Border and adhered to the right hand side of the paper strip. The words were adhered in it’s center.
Two small hearts were cut out of black and white cardstock with a die from the Notched Tag stamp and die set. Another heart was cut out of Tangerine paper with the smallest of the Hearts A Plenty Die-namic die. An arrow was cut out of black cardstock with one of the Lead the Way dies. They were used to dress up the card. Tiny black rhinestones from a Baby Bling rhinestone pack finish off the card.
Thanks so much for stopping by! Have a wonderful day!
Hugs and smiles
|
|
Welcome to the monthly NinaB Designs team blog hop. NinaB Designs is a product designer for a few paper crafting companies including Spellbinders, Want2Scrap and Penny Black, and The Craft’s Meow.
For this month’s hop, Nina challenged the team to create an ornament or tags, which will come in handy in the upcoming holidays.
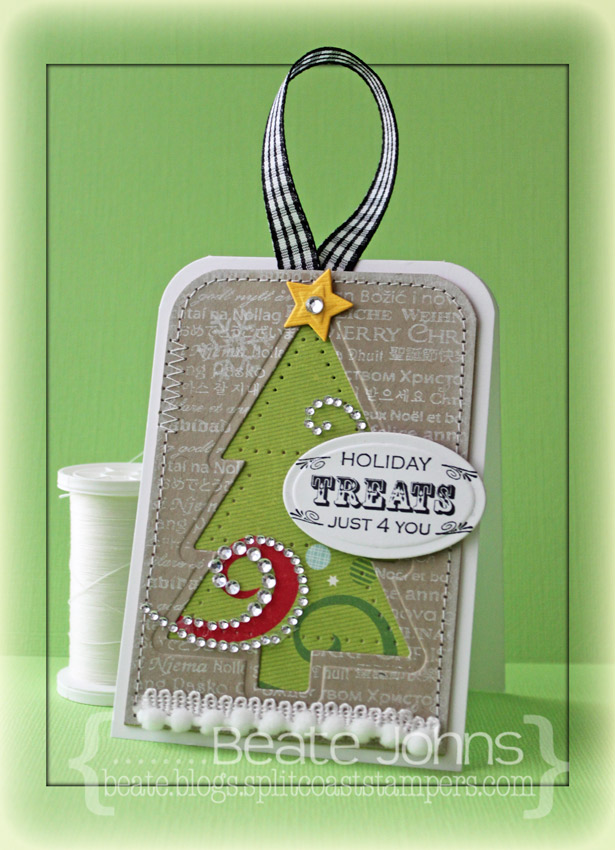
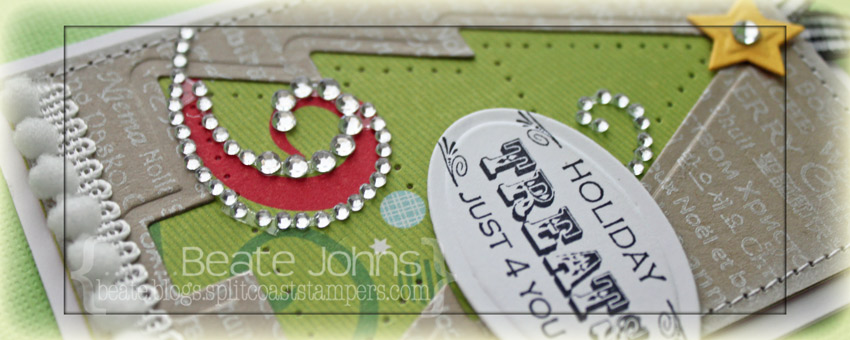
I created a little tag card that worked great for the Free For All Challenge on Friday, which was to use a negative die cut shape. I started with a 2 3/4″ x 4″ piece of Kraft cardstock. The top corners were rounded and the Christmas Tree from Sweet Folk Art was cut and embossed in it’s center. Next a background strip from GinaK Designs Vintage Borders was stamped over it with Brilliance Moonlight White ink and the edges were sponged with the same ink.
A slightly smaller piece of Carta Bella Merry & Bright patterned paper was adhered behind the kraft cardstock. The tree kraft die cut was used as a template to add a pierced border on the patterned paper. The edges of the stitched and a piece of white pompom ribbon was adhered to the bottom. Gingham ribbon was taped behind the Kraft cardstock before it was adhered to the card base, a 3″ x 8 1/2″ piece of Neenah Solar White cardstock, folded in half with it’s top corners rounded.
A sentiment from Winter Mittens was stamped in Jet Black Archival ink and cut and embossed with an insert die from theFancy Framed Tag One dies. The sentiment panel was adhered to the card with foam adhesive squares. Yellow cardstock was cut and embossed with the small star die from Sweet Folk Art. It was adhered to the top of the tree. Parts of a Finesse Rhinestone swirl were added to the tree and one rhinestone from aSleek Strips Silver Rhinestoneswas added to the center of the star to finish off the tag card.
The NinaB Designs team is giving away these TWO PRIZE PACKAGES:


Beautiful Lace

Penny Black Inc.
Thank you for stopping by! Have a wonderful day!
Hugs and smiles
|
|
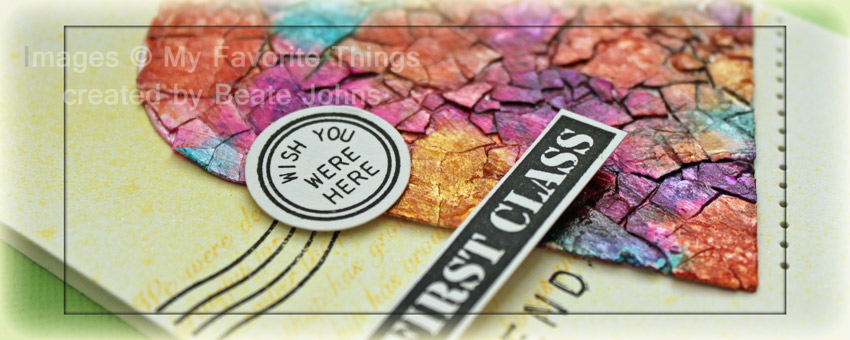
I created this card for a color and sketch challenge on Splitcoast. I also wanted to try out the Eggshell Mosaic Background that was published a few weeks back.
My heart started as a piece of Neenah Solar White cardstock, cut with a Classic Heart Nestabilities die. I adhered egg shells with Multi Medium Matte Glue. Once the glue dried, I sprayed the shells with Perfect Pearls Glimmer Mist and added Alcohol Inks (Butterscotch, Sunset Orange, Wild Plum and Pool). More Perfect Pearls was sprayed and then the heart was set aside. Once it dried, another layer of Multi Medium glue was added, this time the glossy kind.
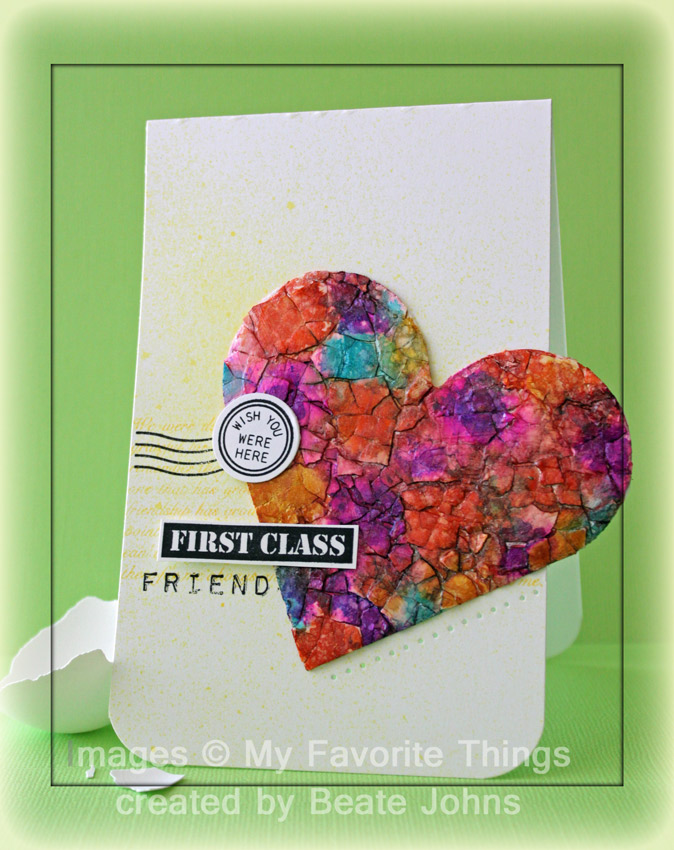
The card base is a 3 1/2″ x 11″ piece of Solar White cardstock, folded in half. The bottom corners were rounded. Marigold Tattered Angels Mist was sprayed in the center of the card front. Next a background script from My Favorite Things First Class Friend was stamped in Dandelion Memento Ink.
One of the little circle images was stamped in Jet Black Archival ink on white cardstock and punched out with a 3/4″ circle punch. The wavy part of the post mark was stamped on the left side of the card. The heart was adhered to the right hand side , the circle sentiment placed so hangs slightly off the left of the card, right over the postmark wave.
First class was stamped in Jet Black on white cardstock and cut out. Friend is part of a sentiment and was stamped to the left side. The First class was adhered slightly over it. A paper pierced row on the right next to the heart finish off the card.
Thanks so much for stopping by! Have a wonderful day!
Hugs and smiles
|
|
It’s my turn to post a Savvy Saturday video on the Spellbinders blog. I created a place card holder and shaped coaster to dress up the Thanksgiving table.
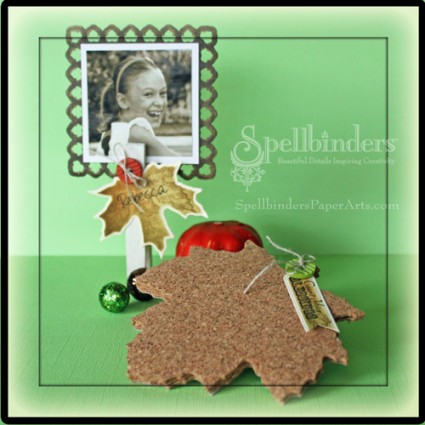
I hope you have time to check out the post on the Spellbinders blog, watch the video and tell me what you think.
Have a wonderful weekend!
Hugs and smiles
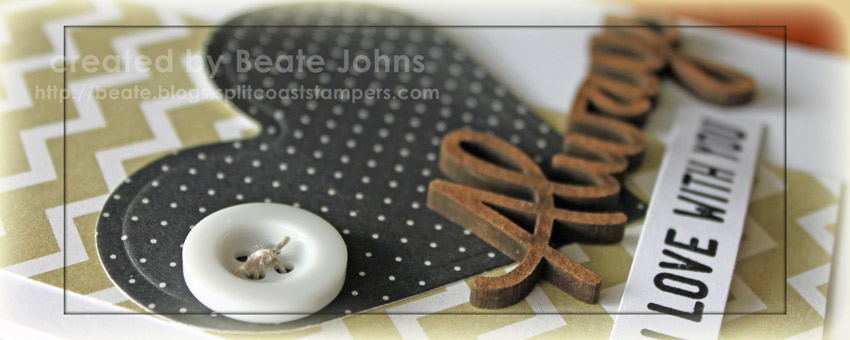
I am exciting to have a couple of cards to share with you on the Simon Says Stamp Blog. I have been purchasing and linking to the store for several years now. I LOVE their huge selection of product and their customer service. For a few month now they have monthly card making kits with Simon Says Stamps exclusive stamps and dies.
The first card was the card I made for Rick for our 19th wedding anniversary. I loved the colors in this kit and how it works for masculine cards.
The second card was created for last week’s Technique Lover Challenge on Splitcoaststampers. We were to use paper weaving on our projects. I love how the papers look together.
I hope you have time to check out the entire cards on the Simon Says Stamp Blog! If you do, you may win a prize pack worth over $25!!! Have a wonderful day!
Hugs and smiles
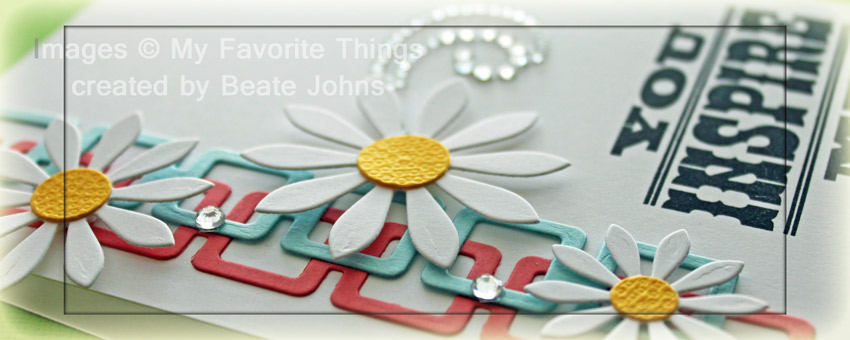
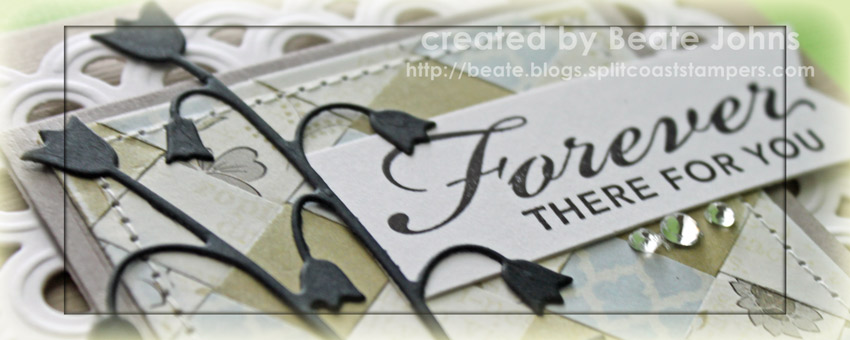
Here is a card I made for a Clean and Simple Challenge. It was a color challenge (Aqua, Coral, Yellow and White). I had recently gotten MFT’s Retro Square Die-namics border die and thought it would be perfect for a clean and simple card. I cut one strip out of Berrylicious cardstock, one out of Cameo Coral (Stampin’ Up!) cardstock.
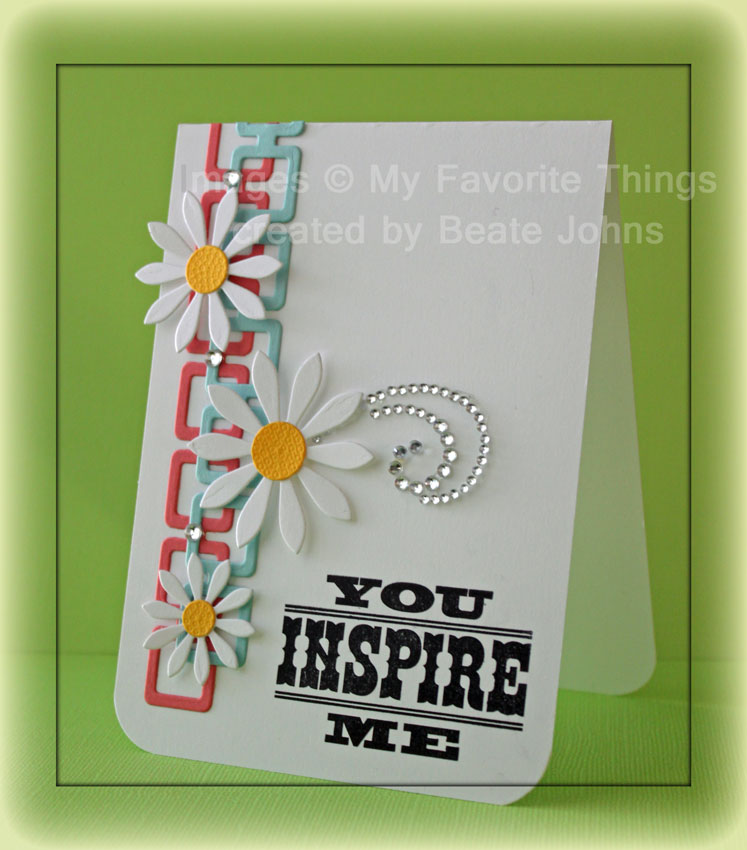
The strips were adhered to the left side of the card base, a 4″ x 11″ piece of Neenah Solar White cardstock, folded in half. The bottom corners were rounded….just because I LOVE to do that.
Three daisies were cut with MFT’s Upsy Daisy Die-namic dies out of Solar White cardstock for the petals, and yellow Bazzill paper for the flower centers. The flowers were adhered over the retro strips. Three Rhinestones from the Sleek Strips Silver Rhinestones were added to the borders, were the two strips overlap.
A sentiment from MFT’s My Favorite Sentiments was stamped in Jet Black Archival ink to the lower right corner. Part of a Finesse Rhinestone swirl next to the biggest Daisy finish off the card.
Thanks so much for stopping by! Have a wonderful day!
Hugs and smiles
|
|