

Birgit Edblom wrote another fantastic tutorial for SCS today. This time for Encaustic Painting on cards. I ordered some Encaustic wax (check this site, they have great videos too) because I LOVE the way her samples looked. Sunday I had time to play. It is so much fun! I have a lot of finished backgrounds sitting here waiting to be turned into cards. Rebecca had fun too. I even got my oldest son to try the technique. Hey…it’s melting wax and then putting it on glossy cardstock with an iron. It’s pretty darn cool!
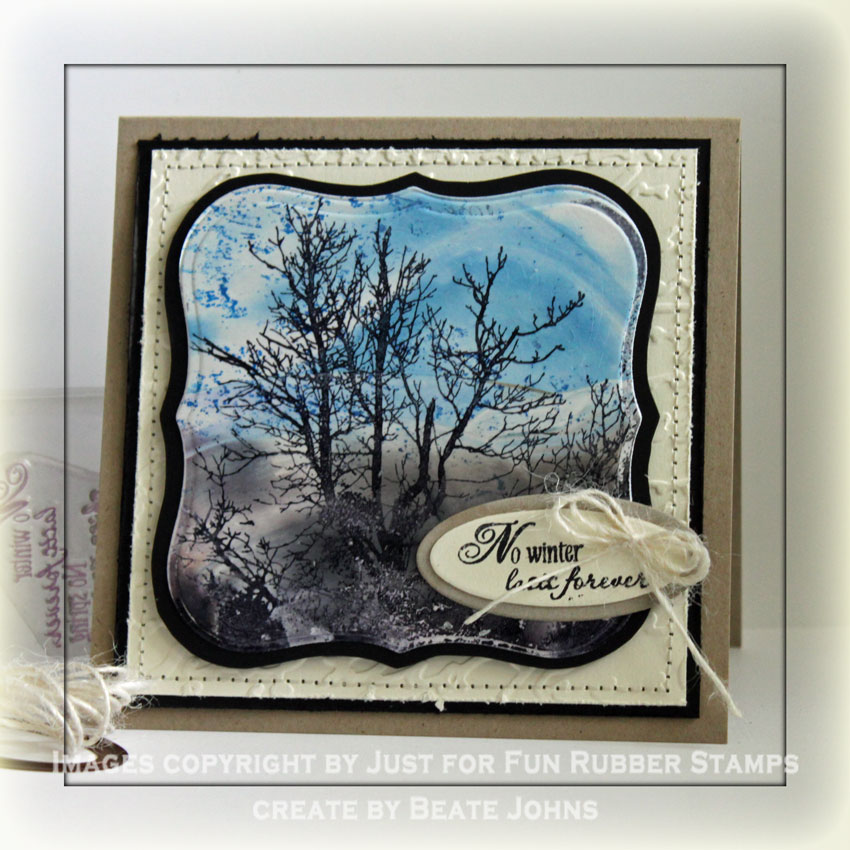
I created my background with a mix of blue and white wax on top and brown and black on the bottom of the glossy cardstock. The tree stamp is from Just For Fun and was stamped with Jet Black Archival ink on top of the background. It was then cut with Label 1 Nestabilities. My Nestabilities die got a bit messy from that. I think next time I will cut the glossy cardstock first, then try the technique.
The card base is a 4 1/4″ x 9″ piece of Kraft cardstock folded in half. A 3 15/16″ square of Vanilla cardstock was embossed with Cuttlebug’s Script Texture Embossing Folder, the edges were distressed and it was stitched to a 4 3/16″ square of Basic Black cardstock.
For the sentiment I cut two ovals with the smallest Petite Oval Nestabilities die. One was cut out of Vanilla cardstock, the other was cut out of Kraft cardstock. The Vanilla Oval was cut down right next to the embossed edge and stamped with a partial quote from Verve’s Beautiful You stamp set. It was first adhered to the Kraft oval, then to the main image. A double bow was tied out fo twine and adhered to the sentiment layer with a small spot of Glossy Accents.
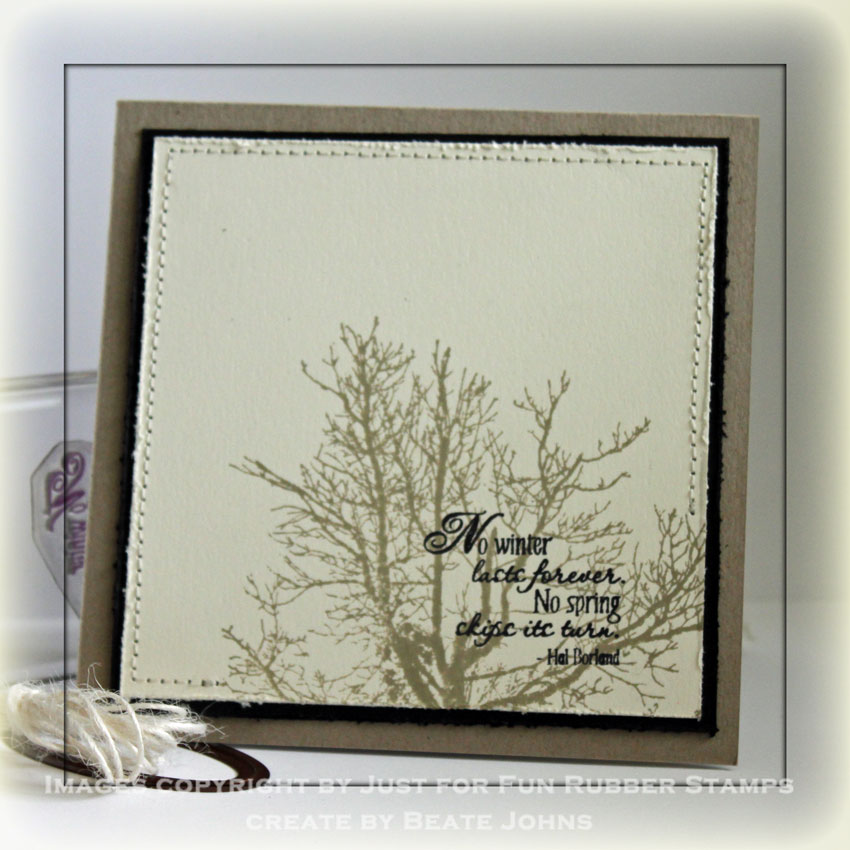
As always I used the same size layers for the inside as for the card front. On the vanilla layer I stamped the Tree in Frayed Burlap Distress Ink on the lower right hand side. If I would do it again, I think I would use a blue ink to tie the blue of the front in some more. Over the tree image I stamped the entire sentiment in Jet Black Archival ink. I partially stitched that layer to the black layer underneath.
You can try this technique with Crayola Crayons. The wax won’t be as thick, but it works. I hope you try this out. It is very FUN, but BEWARE! It is addicting!
Have a wonderful day! Hugs and smiles
Beate
16 Responses to “Tutorial on SCS – Encaustic Painting on cards”
Sorry, the comment form is closed at this time.


GORGEOUS, Beate! Wow! Thanks for the link, I’m going to have to get some of this stuff and try this out. It’s beautiful!
No, it’s not pretty darn cool, it’s pretty HOT, LOL!! Your wax painting is beautiful – it is a richer look than in your crayon tutorial. I have a suggestion – instead of cutting out the wax painting with a nestie, this would be a great technique to use a windows instead. You have your textured white panel on top with a label one window, then a black layer with a smaller layer one window, then the wax painting. Lovely work, thanks for all the sharing you do with us! It’s wonderful!
Oh My Word – what a wonderful effect. I’m going to have to try it out. I love your card and that gorgeous tree works perfectly silouhetted!!!! Have a great day.
What a great effect! Love your card!
WOW! WOW! WOW! This is absolutely gorgeous!!!!!
Just GORGEOUS! I’ll have to check out this tutorial!
I love this card and the look of the wax. I have all the wax but never tried it with the iron . . . . I must do this!!
Oh my, Beate – this is unbelieveably cool! What a gorgeous card! Looks like an expensive piece of art! Great job, and thanks for the tutorial!
Wow it is a gorgeous effect!
THIS my friend, is just INCREDIBLE! I love the look of this!! I have got to get me the supplies to try this!!
Wow this card is soo stunning! I love it!
WOW Beate was für eine megageniale Karte, sie ist sowas von schön, ich schaue und staune, der Wahnsinn.
Herzliche Grüße
von Anke
What a stunning effect! The card is beautiful. I have to laugh because everytime I come here and visit, I am always saying “Wow”. Love the inspirations! Thank you, Beate!
Okay – I LOVE this! The overall effect is stunning! I’ll have to give it a try! All 3 of your cards made with this technique are beauties!
Love it and thank yo so much for the infor. I will try this one
Beautiful!