Becky and Melanie thought it would be great fun to team up for a little Holiday Hop today. We are showcasing Becky’s new set, “Warm Woolen Mittens” along with Becky’s new cut file “Grand Banners” and “Grand Banners – Winter Sentiments” and Melanie’s newest set, “Lots of Letters” as well as some of her other recent favorites.

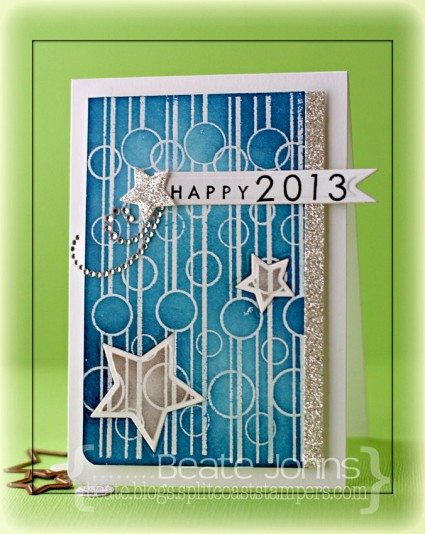
For my card I stamped one  of the patterns from Pretty Patterns in VersaMark ink on a 3″ x 5″ piece of Neenah Solar cardstock. It was embossed with clear embossing powder and stars were cut and embossed out of the lower half with the two smallest dies from the Star Nestabilities set. I had seen Jennifer McGuire create a card with this technique and had wanted to try that out ever since.

The bottom left corner was rounded before the background was sponged first with Teal Zeal, then with Nautical Blue Memento Ink. The stars were sponged with London Fog Memento Ink while the dies were still on the cardstock.

The card base is a piece of 3 3/4″ x 11″ piece of Neenah Solar White cardstock folded in half. Again the bottom left corner was rounded. The background and the stars were adhered to the card base with adhesive foam squares.  A 1/4″ x 5″  silver glimmer paper (Stampin’ Up!) strip  was adhered to the right hand side of the background. A small star was cut out the same paper.

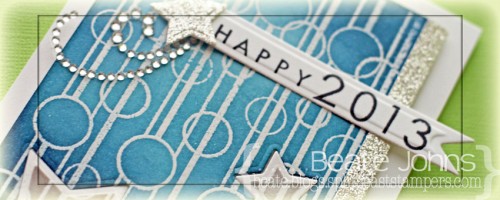
The word happy is from the stamp set Inspiration Mosaic. It was stamped in Tuxedo Black Memento Ink on a strip of white cardstock. 2013 was stamped behind it with numbers from the new Lots of Letters set. The sentiment was cut out with a Pennant die. The glitter star was adhered to the left of the sentiment and both were adhered to the upper half of the card. Part of a Finesse Rhinestone swirl finish off the card.

Make sure you visit everyone’s blog to leave a comment and be entered to win a clear “I do!” and “Beyond Baskets” stamp set! A winner will be announced Thursday.

Becky Oehlers (Illustrator of Warm Woolen Mittens)

JJ Bolton

Laurie Schmidlin

Latisha Yoast

Michelle Woerner

Richard Breaks

Vera Yates

Tosh Leyendekker


Thanks so much for looking! Have a wonderful day!
Hugs and smiles

Are you on Pinterest? Do you pin things and tell yourself you will create something like that at one point later on? A blogging friend of mine, Kendra Wietstock, is posting a Pinterest inspired project from the first of December until the 21st on her blog. I thought I join her today.

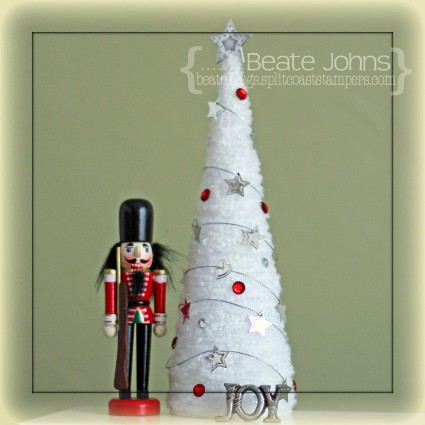
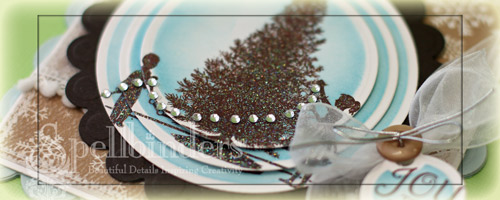
Ever since I saw a Christmas tree made out of string on Pinterest, I knew I wanted to try it. But when buying string for it, I changed my mind a bit and bought fuzzy white yarn instead. I had seen a Christmas tree decor at Target that I liked and thought I could re-create it with the string tree technique. Plus white and silver would work great with the current Moxie Fab World challenge.

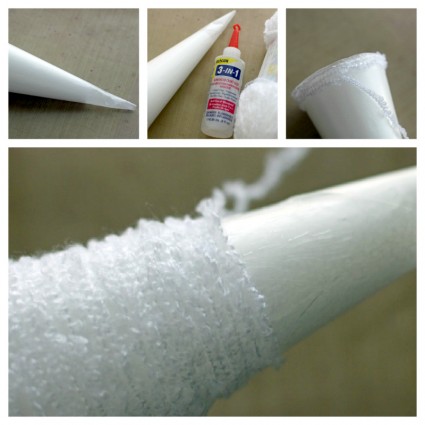
Well…it worked kind of. I wrapped a styrofoam cone with wax paper. Then started glueing the string to the cone.

Once I wrapped the entire cone and the glue was dry, I took the styrofoam cone out and tried to separate the my string tree from the was paper. Note to self: This doesn’t work the with fuzzy yarn! LOL So I stuck the styrofoam cone back in and started on the decoration.

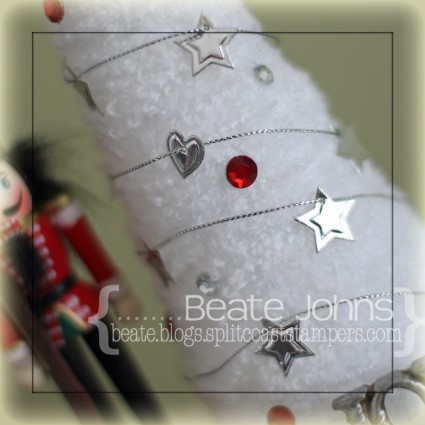
I cut and embossed hearts and stars out of shiny silver paper (bought at a scrapbook store back in Ohio) with the small dies from Sweet Folk Art. They were strung up on silver cord and adhered to the tree. The tree was topped with a star created out of the same paper cut with the bigger star die. Red and Silver rhinestones finish off the tree.

I am happy with how it turned out, even if it’s a bit different then the pinterest idea I started out with.  Thanks so much for stopping by! Have a wonderful Sunday!
Hugs and smiles


I have another video post to share with you on the Spellbinders Paper Arts blog. The coming week is all about Nestabilities®. Nestabilities started my love for Spellbinders products. Once the original shapes came out I was hooked. In the video I talk a bit about some of my favorite techniques you can do with Spellbinders dies and show how to create this telescoping image.

I hope you have time to stop by, check it out and tell me what you think. I would love to hear from you!  Have a wonderful weekend!
Hugs and smiles

Patti, you asked for it. Here is a video for the visual learner on how to just emboss your Spellbinders die shape into your cardstock:

[youtube]https://www.youtube.com/watch?v=RRUoXVNuhF0[/youtube]

Have a wonderful Friday! Hugs and smiles


Yesterday I had some free time to play along some of my favorite challenges. I created this card for the current Way to Use it challenge on Splitcoaststampers (favorites), the current CASE Study and Simon Says Stamp challenge (snowflakes).

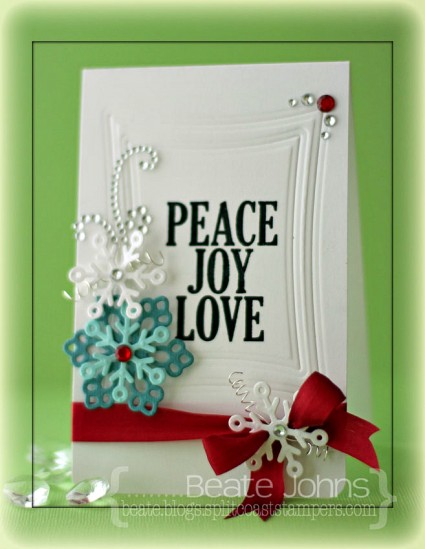
The current CASE study showcases a gorgeous card from Windy Robinson. Her card had some great dry embossing with Nestabilities dies. Her card had flowers in the center, but I thought snowflakes would be more appropriate for December. Plus I LOVE snowflakes. So I cut snowflakes out of Neenah Solar White cardstock, Frosted Teal and Patina Bazzill cardstock with dies from the 2012 Snowflake Pendant Shapeabilities® die set.

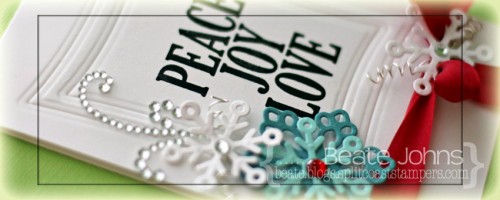
A 3 1/2″ x 11″ piece of Neenah Solar White cardstock was folded in half and the bottom corners were rounded.  Two of the Wonky Rectangles Nestabilities® were embossed in the center of the card. A sentiment from Merry Everything was stamped in the center of the embossed rectangles with Midnight Black VersaMagic Ink.

Red silk ribbon was tied around the lower part of the card base. Thin silver wire was wrapped around a stylus and added to the small white snowflakes. The bigger blue snowflake and a while one were adhered to the left hand side of the sentiment. A second white snowflake was adhered over the ribbon bow.  Rhinestones from Want2Scrap finish off the card.

Thanks so much for stopping by! Have a wonderful Friday!
Hugs and smiles

This week on the Spellbinders blog it was all about Gift ideas. I had some 7Gypsies 6″ x 6″ Shadowboxes for quite a while and thought it would be great to alter one. I hope you have time to check out my post with step by step instructions HERE. I used a picture of my kids from 10 years ago. They were so cute when they were little.  Altering items is definitely out of my comfort zone. Let me know what you think.

Thanks so much for stopping by! Have a wonderful day!
Hugs and smiles
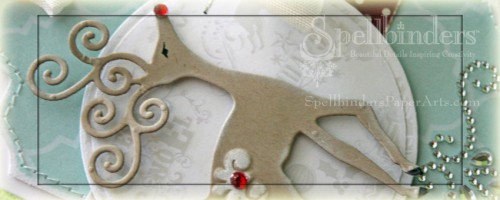
I have a new video to share with you on the Spellbinders Paper Arts blog today.  I love the reindeer image from Frosty Forms Spellbinders™ Shapeabilities® and used it along with a Label Twenty-Eight Spellbinders™ Nestabilities® die to create my tag.

I hope you have time to check out the entire tag and video, especially about the video. I bought a new tripod (since my plastic one was a little fragile for the new arm) and Tripod extender arm to create videos that are filmed directly above my hands. I love how much better it looks. Let me know what you think.

Thanks so much for looking! Have a wonderful weekend!
Hugs and smiles

I get to share another card on the Spellbinders Blog today. It showcases the new Shapeabilities® Die D-Lites™ Whimsical Tree. I hope you have time to check out the entire post.

Since last week’s little die give-away went so well, let’s do it again. I still have the Create-a-Flake Two die set. If you go to the Spellbinders blog and leave a comment, come back here and leave one on this post and let me know. That will enter you in the raffle for the Create-a-Flake Two die set. I will pick a winner on Friday with the help of random.org. Make sure to check back to see if you won.

Thanks so much for stopping by! Have a wonderful day!
Hugs and smiles
 

Nina is the hostess for the new Crafty Friends Challenge and she gave us this gorgeous photo to be inspired by:

Freckled Fawn is sponsoring this challenge. Each entry in the challenge will also be an entry in a raffle to win a $15 gift certificate from them. They have gorgeous Washi Tapes in their store. The yellow and green one featured on my card are from Freckled Fawn.

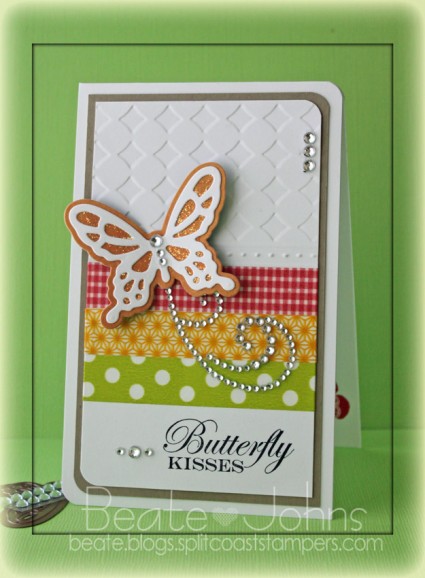
I took the inspiration pretty literally and incorporated the stripes, the butterfly and the colors shown on the photo. I started by about 2″ (eyeballed it) of a 3″ x 5″ piece of Neenah Solar White cardstock with the Simplicity M-Bossabilities folder. Next I took out my Scor-Buddy and first scored a line, then went along the next 1/8″ spaced line with my Cutter Bug Bee (to create the dots), then added another score line. Under that score line I added gingham red ( Elmer’s), the yellow sunburst and green polka dotted Freckled Fawn Washi tapes.

One of the sentiments of Butterfly Kisses was stamped inTuxedo Black Memento Ink to the lower right of the panel. The upper right and lower left corner were rounded. The layer was first adhered to a 3/16″ bigger piece of Kraft cardstock, then to the card base a 3 1/2″ x 11″ piece of Solar White cardstock folded in half.

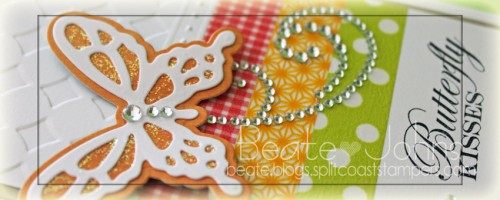
A solid Butterfly shape was cut out out of Echo Park’s Paradise Beach Paper, the detailed one out of Solar White cardstock. The detailed one was adhered to the solid shape and Diamond Stickles was added where the orange paper showed through. Part of a Finesse Rhinestone swirl under the butterfly and more rhinestones from a Sleek Strips Silver Rhinestones finish off my card.

Check out my fellow Crafty Friends for more  inspiration:

    Thanks so much for looking! I hope you have time to join us in the challenge. It’s easy and fun! Have a wonderful week!
    Hugs and smiles


Welcome to the monthly NinaB Designs team blog hop. NinaB Designs is a product designer for a few paper crafting companies including Spellbinders, Want2ScrapPenny Black, and The Craft’s Meow. For this month’s hop, Nina challenged us to create something with Winter and Holidays in mind.
The holidays provide many opportunities for paper crafters to give an extra personal touch to every occasion.  Whether you are doing place cards for a dinner, tags for gift giving or even just hand made projects using your supplies on hand, it is a blessed season indeed!

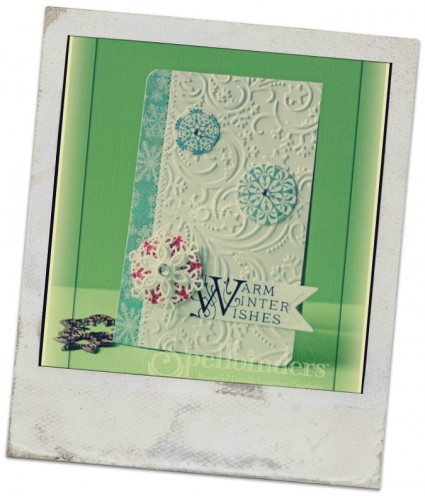
As you can see it’s my post from yesterday’s Spellbinders Blog. We moved the blog hop right before I left for my trip to Arizona and I didn’t have time to create a new one. I used The Craft’s Meow Vintage Snowflake Set to stamp the circles with Versamagic ink. You can see a better picture on the Spellbinders blog. If you comment there, and then come back and post on yesterday’s post as well, you will be entered in a drawing for my Create-a-Flake 4 dies.

To welcome you back to our blog hop, we are giving away PRIZE PACKAGES so be sure to hop along!  Winners will be picked randomly from 2 of the designers’ blogs:
Everybody is welcome to comment and be eligible to win. The winners will be announced on  November 23 on Nina’s Blog, where you will also find all the relevant info regarding the giveaways.  Finally, please consider liking the following Facebook pages that are represented on today’s hop, so you don’t miss the latest news and happenings:
Penny Black Inc. 

Thank you for joining us today!
© 2012 fresh & fun Suffusion theme by Sayontan Sinha