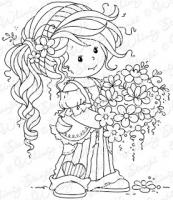
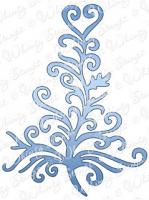
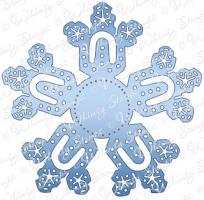
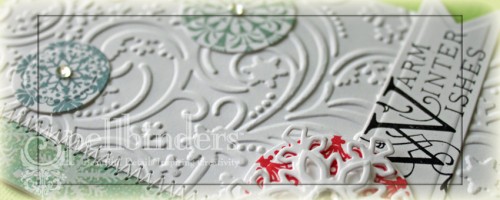
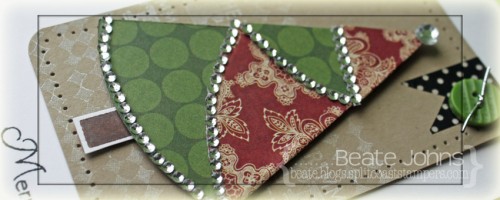
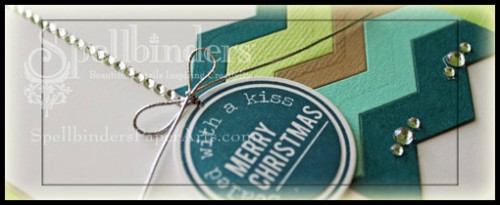
Here is a little sneak peek of the card I am sharing at the  Spellbinders blog today.  I hope you have time to check out my quick tutorial for this card on the Spellbinders blog. If you have time to comment there, come back and let me know.

If you do that (comment there and then here) it will enter you in a raffle for my gorgeous Create-a-Flake Four Snowflake die set. It just retired (meaning Spellbinders Paper Arts is out of those dies and you soon won’t get them anymore. Still available in stores while supplies last).

I will pick a winner on Sunday with the help of random.org. International readers are invited to enter the raffle too.

Thanks so much for stopping by! Have a wonderful day! I know mine will be. I am in Arizona right now hanging out with my fellow Spellblogger and the Spellbinders Blog team.

Hugs and smiles

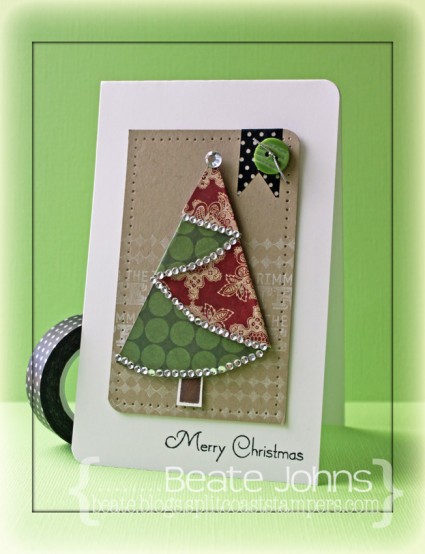
I created a quick tutorial on how to fold half circles into a Christmas tree for today’s tutorial on Splitcoaststampers.  I started out by cutting a circle out of Teresa Collins Christmas Cottage with the smallest of the Grand Circle Nestabilities die.  The circle was cut in half, folded and decorated with rhinestones.

A stamp from the Lollipop Treat stamp set was stamped in Jumbo Java VersaMagic Ink on Neenah Solar White cardstock. It was cut out and adhered under the tree.

The upper right and lower left corner of a 3″ x 5″ piece of Kraft cardstock were rounded. The bottom was stamped with a background stamps from the Lollipop Treat set and a sentiment from  Document It – December in Moonlight White Brilliance Ink. The edges were pierced before the Christmas tree was adhered with foam adhesive squares.

A piece of black polka dotted Washi Tape was adhered to the top right corner of the kraft cardstock. It was topped with a button, tied on with silver cord. The layer was adhered to the card base, a 3 1/2″ x 11″ piece of white cardstock. A sentiment from Christmas Ornaments was stamped to the lower right edges of the card with Tuxedo Black Memento Ink.

Here is a video for the visual learner:

[youtube]https://www.youtube.com/watch?v=7u8oJd3g384[/youtube]

Thanks so much for stopping by! Have a wonderful day!
Hugs and smiles

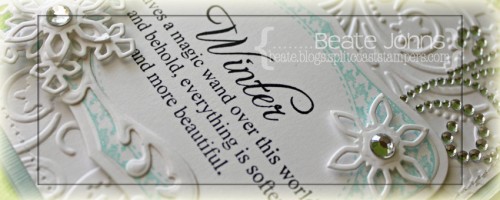
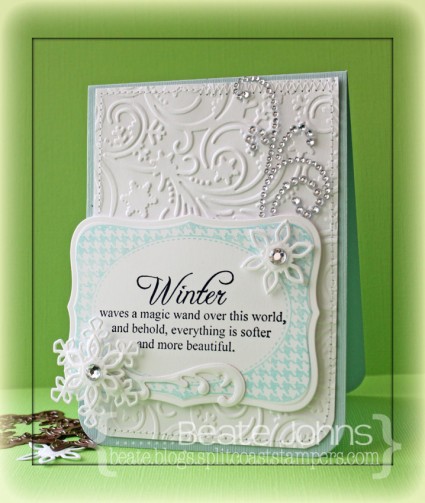
I created this card a while ago for one of the Hope You Can Cling To challenges on Splitcoaststampers. It’s perfect for our new Crafty Friends Challenge, to use a sentiment as the focal point of the card.

Are you playing along with us? If not, you’re missing out on the chance to lift the spirits of women battling breast cancer at MD Anderson, and also on more than $6500 in prizes from your favorite crafty companies. So what are you waiting for? Get to stamping!

For my card I started by stamping the a frame from Lovely Labels 1 in Sea Breeze VersaMagic Ink on Neenah Solar White cardstock. It was cut out with a Label 18 Nestabilities die. A sentiment from Winter Wonderland was stamped in Jet Black Archival ink in the center of the label.

The bottom corners of a 3 3/4″ x 5 1/4″ piece of white cardstock were rounded before it was embossed with the Holiday Magic M-Bossabilities folder and it’s edges were stitched. The layer was adhered to the card base, a 4″ x 11″ piece of Seasalt Canvas Bazzill cardstock, folded in half. The sentiment label was adhered slightly hanging over the right hand side with foam adhesive squares.

Snowflakes were cut with Create-a-Flake 4 dies out of white cardstock and adhered to the upper left and lower right of the sentiment label. A Flourish out of white cardstock, cut with a the Ornate Artisan Tags and Accents die, was adhered to the right of the double stacked snowflake and rhinestones were added to the center of each snowflake. Part of a Finesse Rhinestone swirl finish off the card.

Check out my fellow Crafty Friends for more Sentimental inspiration:


It’s my turn to share a video post on the Spellbinders blog today. Next week it’s all about Edgeabilities on the Spellbinders blog. I thought it would be cool to create Chevron strips with the Ric Rac die from the Classic Edge One die kit.

The current CAS-ual Fridays challenge called us to make a masculine card. I think even with the rhinestones I added, this card fits the bill.

I hope you have time to check out the card and video. Thanks so much for stopping by! Have a wonderful weekend!
Hugs and smiles


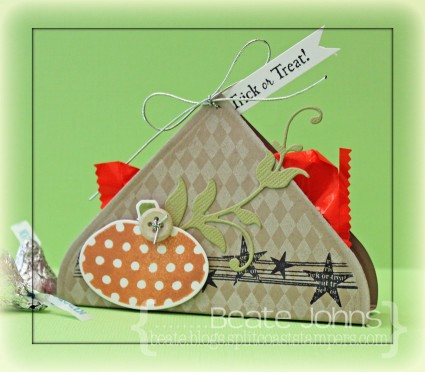
Today’s tutorial on Splitcoast is written by the wonderful Stacy Morgan. She is showing us how to create little treat holder that look like Hershey’s Kisses. I shot the video and create a Halloween treat holder…What else but a Halloween project can I showcase today, right?

I started by cutting two hearts out of Kraft cardstock with the largest of the Classic Heart Nestabilities dies. They were first stamped with the smallest Distressed Diamonds background in Cloud White VersaMagic Ink. Once that dried, I stamped the star banner from Primitive Pumpkins over it in Jet Black Archival ink.

A pumpkin was cut out of Neenah Solar White cardstock with one of the Primitive Pumpkin Die-namic dies, and one of the pumpkins was stamped over it in Tea Leaves and Pumpkin Spice VersaMagic Ink. Lizard Bazzill Textured Cardstock was cut with the Flourish Die-namics die. The flourish and the pumpkin were adhered to the treat holder front and a button was tied to the pumpkin with silver cord.

A sentiment of the Primitive Pumpkins set was stamped in Jet Black Archival Ink on a white strip of cardstock and tied on to the Hershey’s Kiss with more silver cord.


Here is a video for the visual learner:

[youtube]https://www.youtube.com/watch?v=gpXJFFNNEfo[/youtube]

Thanks so much for stopping by! Have a wonderful Halloween!
Hugs and smiles

It’s my turn to share on the Spellbinders blog again. This time I used a Medallion Die D-Lites die. I created the cards for the current CAS-ual Fridays challenge (use Kraft) and the CAS(E) this sketch challenge.

I hope you have time to check out the post! Thanks so much for stopping by! Have a wonderful day!
Hugs and smiles

Hello and welcome to Day 4 of our October Rubber & Die Release Showcase!

On Wednesday (24 October) Whimsy Stamps released this month’s new rubber designs, Shapeology dies, Whimsy Designer Paper packs and Shape EZ templates. From then until 30 October the Whimsy Stamps DT and Special Guests are showcasing these fabulous new goodies with a daily mini blog hop!

Each mini blog hop has a new release prize hidden somewhere along the way and you have 24hrs to enter each prize draw.

To be entered into today’s mini blog hop prize draw, be sure to leave a comment on ALL of the DT’s posts listed below by 12.00PM EST tomorrow. All winners will be announced on the Whimsy blog on 31 October.

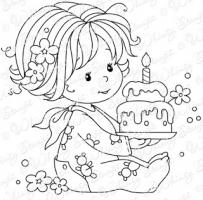
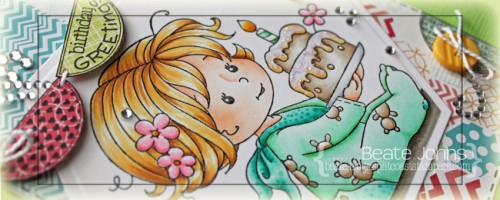
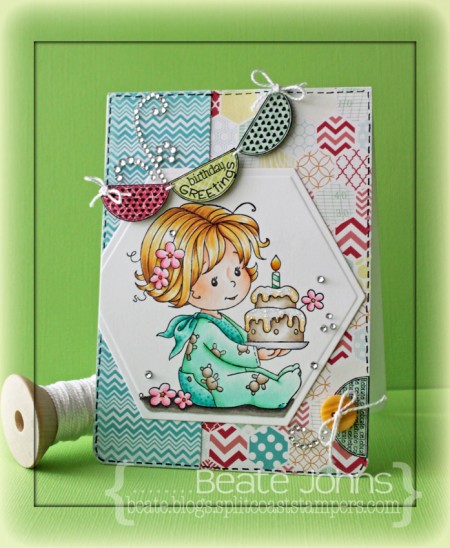
For my sample today I used  the darling Birthday Baby Girl Wee image. It was stamped in Tuxedo Black Memento Ink on Neenah Solar White cardstock . It was colored with  Copic Markers (Hair: Y21, Y23, E33   Skin: E0000, E00, E01   Sleeper: G0000, G000, G00, G02, BG10, BG11, BG13, BG15   Flowers: RV10, RV13    Teddy/cake: E40, E41, E42    Frosting: YR30, YR31    Ground: W3, W5 W7) and cut and embossed with a Hexagon Nestabilities die. Diamond Stickles were applied over the bubbles and the cake frosting.

Two pieces of Echo Park’s Everday Eclectic paper were adhered to a 4″ x 5 1/2″ rectangle. The bottom corners were rounded and the edges were sanded, before a faux stitched border was added with a Copic Multiliner.  The image layer was adhered to the left side, slightly hanging over the edge. The part that was hanging over was cut off.

Four pieces of the Everyday Eclectic paper were stamped with stamps from the Celebration Circle Pennant set. The half circles were cut out and three were strung up as a banner with embroidery thread. The fourth half circle was adhered to the lower right hand side and a button was tied over it. The layers were adhered to the card base, a 4″ x 11″ piece of white cardstock, folded in half. Parts of a Finesse Rhinestone swirl and a few Sleek Strips Silver Rhinestones finish off the card.

To take a peek at today’s fabulous new release creations, please click on the links below…

Remember that the entire new release is available to buy right now from the Whimsy Stamps store along with all your Whimsy favorites.

Thanks so much for stopping by! Have a wonderful day!
Hugs and smiles

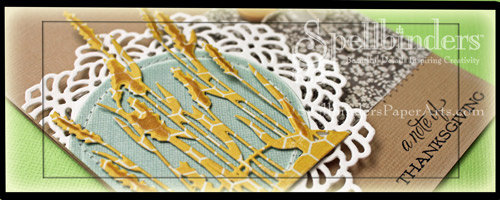
I created a Thanksgiving card with one of Spellbinders brand new Die D-Lites die. I hope you have time to hop on over and check it out.

Thanks so much for stopping by! Have a wonderful day!
Hugs and smiles

Welcome to the Whimsy Stamps October 2012 rubber stamp and die RELEASE (Holiday Collection Part 2)!

Today, Whimsy Stamps is releasing 23 fantastic new rubber stamps & stamp sets, 5 wonderful new Shapeology dies, 2 fabulous new Shape EZ templates and 2 beautiful 6×6 paper packs. These new goodies are available to buy right now from the Whimsy Stamps store along with all your Whimsy favorites.

From today until 30 October the Whimsy DT and Special Guests will be showcasing these new products with a daily mini blog hop. Each mini blog hop has a new release prize hidden somewhere along the way and you have 24hrs to enter each prize draw by leaving a comment on every blog listed for that day.

At the end of release week (Wednesday 31 October) we will post a Release Round-Up on the Whimsy blog. This will include a selection of DT work from the new release week together with a complete list of winners from the daily mini blog hops.
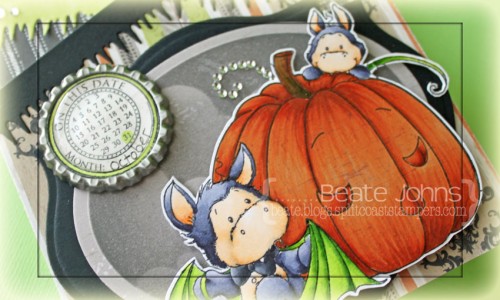
For my first sample I chose the adorable Wee Boo image. It’s so cute, I can’t stand it. I stamped it in Tuxedo Black Memento Ink on Neenah Solar White cardstock . It was colored with  Copic Markers (Little Dragons: BV20, BV23, BV25, BV29, E50, E51, E53, R20   Pumpkin: E95, E97, E99   Wings: YG01, YG03, YG17   Bow: C5, C7, C9) and cut out.  The image was stamped again on Echo Park’s Chillingworth Manor patterned paper, colored , cut out and adhered to the main image.

Another piece of Chillingsworth Manor was cut and embossed with the largest of the Classic Oval LG dies. Cloud dies (cut with Spellbinders Whimsy dies) were adhered over it and the layer was sponged with Gray Flannel Memento ink. It was then layered on a piece of black cardstock, cut and embossed with the largest Label Eighteen die. The image was adhered over the spooky background with  foam adhesive squares.
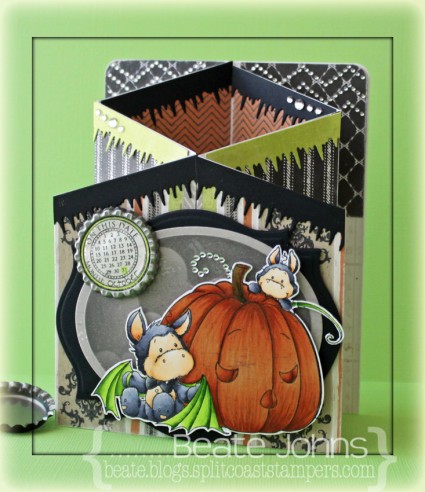
Last week’s tutorial on Splitcoast was so much fun, I had to make another Concertina card. The card base was created with Neenah Solar White cardstock and lined with more Chillingworth patterned paper. Black and green paper were cut with Icicle Border  die and adhered to the top. I think it could be used for “goo” as well as icicles.

The date circle is from Everyday Circle Postmarks and was stamped in Tuxedo Black on more Chillingworth paper. It was cut out and the 31st as well as a circle border were colored with Copic Marker YG01. I ran a bottle cap through my Grand Calibur (cutting plate and Raspberry adapter plate) to flatten it, adhered the sentiment in the center and topped it with a Epoxy Dot. It was adhered with foam adhesives to the upper left hand side of the image.

Part of a Finesse Rhinestone swirl,  a few rhinestones from a Sleek Strips Silver Rhinestones and a few rows of a Beautiful Border Bling – Chevrons finish off the card. In case you missed it last week, here is a video for this fold for the visual learner:

[youtube]https://www.youtube.com/watch?v=Whpy-eDRcac[/youtube]

Thanks so much for stopping by! Have a wonderful day!
Hugs and smiles

To be entered into today’s mini blog hop prize draw, be sure to leave a comment on ALL of the DT posts listed below by 12:00PM EST tomorrow:

Finally, here is a full reveal of the wonderful October release. Don’t forget to visit today’s DT and leave a comment on their blog posts to be entered into the draw to win a new release stamp!

[Please note that the following pictures are not to scale]
4 Crissy Armstrong rubber stamps
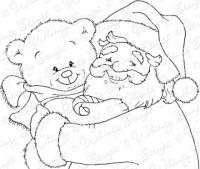
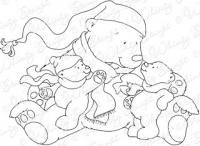
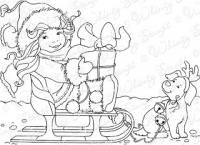
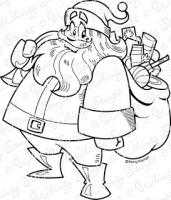
Crissy Armstrong ~ Santa & Teddy ~ Sheltering Love ~ The Littlest Reindeer 
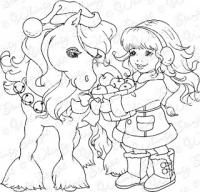
4 Elisabeth Bell rubber stamps
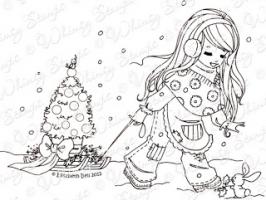
Apple Blossom’s Skates ~ Chloe’s Little Light ~ Little Jack Drumming ~ Sunkissed’s Christmas Tree

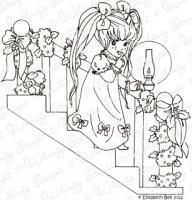
4 Kenny K rubber stamps
Fashionista ~ Jet Setter ~ Santa ~ Xmas Shopping

3 Meljen’s Designs rubber stamps
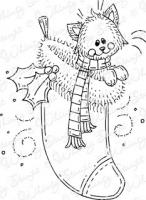
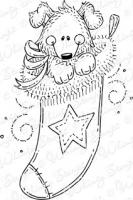
Holly Christmas Fairy ~ Stocking Kitten ~ Stocking Puppy
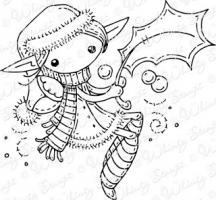
3 Sylvia Zet rubber stamps
Batty Boo ~ Birthday Baby Girl ~ Ruby Whimsy
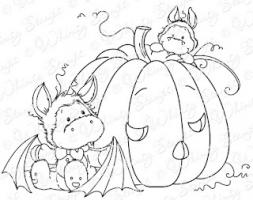
5 Raindrop Echo Designs rubber stamp sets
Candy Canes ~ Holiday Mini Tickets ~ Tis The Season Notables 5 ~ Vintage Holiday Gift Tags ~ Holiday Notables 3
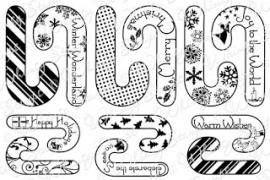
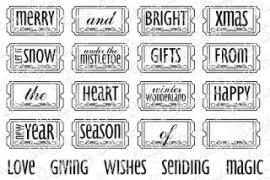
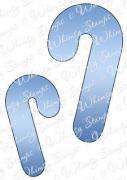
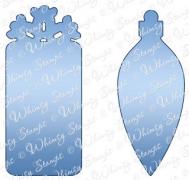
5 Shapeology dies
Candy Canes set ~ Holiday Gift Tags set ~ Christmas Tree ~ Holiday Sentimentables set ~ Snowflake Doily
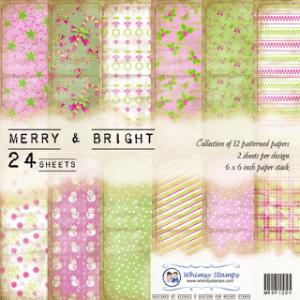
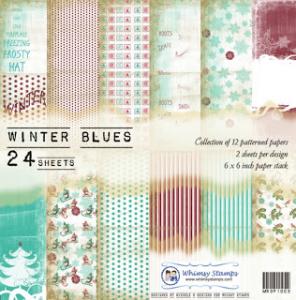
2 6×6 Paper Stacks
Merry and Bright ~ Winter Blues

24 sheets per pack – 12 designs, 2 of each printed on heavy weight slightly textured papers.
Acid and Lignin free.
2 Shape EZ by TLC templates
Snowflake Card ~ Snowy Ball
Thanks so much for stopping by and I hope you enjoy our new release!
Have a great day! Hugs and smiles

P. S.: How about a little giveaway? Would you like to win last month released Hazel and the Whimsy Halloween Grunge Paper? If so, just add your name to the inlinkz underneath. Open only for people with US address. Sorry.

I will pick a winner with the help of random.org on Sunday!


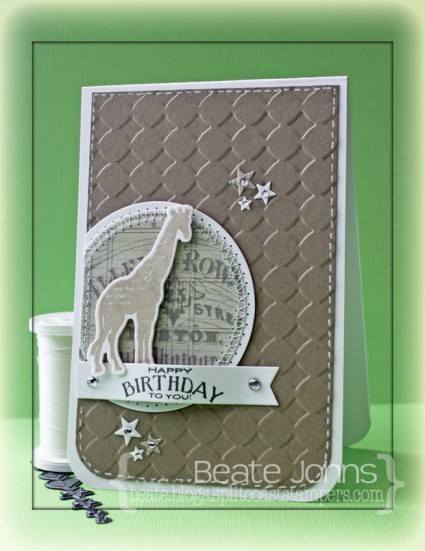
I created this card for last week’s Inspiration challenge.  For my sample I chose this darling stuffed giraffe.  The color scheme for this card came from last week’s  Ribbon Reel Challenge.  The sketch is from the current CASE study challenge.

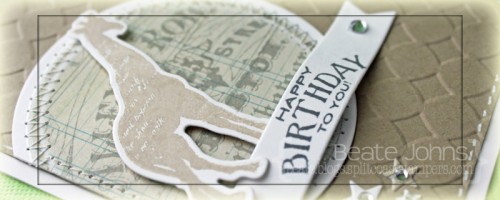
I started by cutting a piece of Neenah Solar White cardstock with the giraffe die from MFT’s Spectacular Circus stamp and die set. The matching giraffe stamp was stamped over it in Wheat VersaMagic ink. A piece of Pink Paislee Portfolio patterned paper was cut and embossed with a Standard Circle Nestabilities die. The edges were sanded before the circle was stitched to a slightly bigger white cardstock circle.

A 3 1/2″ x 5 1/4″ piece of Kraft cardstock was embossed with the Simplicity M-Bossabilities folder. The bottom corners were rounded and a the edges were faux stitched with a Signo white gel pen. The layer was adhered to the card base, a 3 3/4″ x 11″ piece of white cardstock folded in half before the partial circle was adhered to the left hand side. The giraffe was adhered to the circle with foam adhesive squares.

One of the sentiment from Circus Spectacular was stamped in Gray Flannel Memento ink on a piece of white cardstock, cut with one of MFT’s Sentiment Strips die-namics die. One of the sides was cut straight and the sentiment was adhered underneath the circle with Scor-Tape on the edges and two foam adhesive squares on top of each other in the center.

Stars were cut out Solar White cardstock as well as the same paper that was used for the circle with SimonSaysStamp exclusive Holiday Shapes die. The stars were adhered to the card and topped with rhinestones. A rhinestone on each end of the sentiment strip finishes off the card.

Thanks so much for stopping by! Have a wonderful day!
Hugs and smiles

© 2012 fresh & fun Suffusion theme by Sayontan Sinha