mftsummertslidewide.jpg

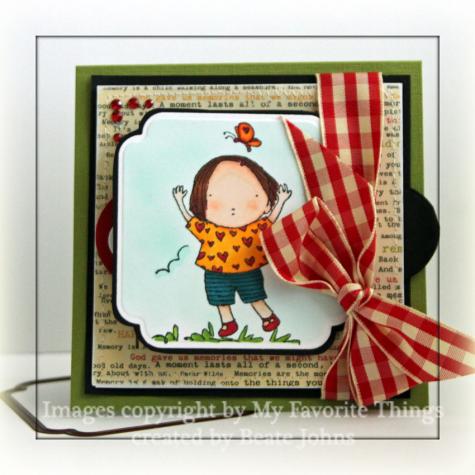
Today’s tutorial on Splitcoast is written by new tutorial writer Kim Score. She shows us a different kind of slider card. I created my sample with My Favorite Things Sunshiny Day. The image was stamped with Tuxedo Black Memento Ink on Neenah Solar White cardstock. It was colored in with Copic Markers (E000, E01, E11, YG25, YG17, R24, R29, Y17, YR16, BG07,  BG09). the image was cut with Label 13 Nestabilities. It was layered on a slightly bigger piece of Basic Black cardstock and hand cut around it. The background was airbrushed with Copic Marker B00.

mftsummertslidebeate.jpg

The card base is a 4 5/8″ x 9 1/4″ piece of Textured Old Olive cardstock folded in half. The edges of a  4″ square of  Thrift Store October Afternoon Paper were sanded and stitched to a 4 1/4″ black cardstock square. Red Gingham Ribbon was tied around the right side of the layers. Red Rhinestones were added to the top left corner.

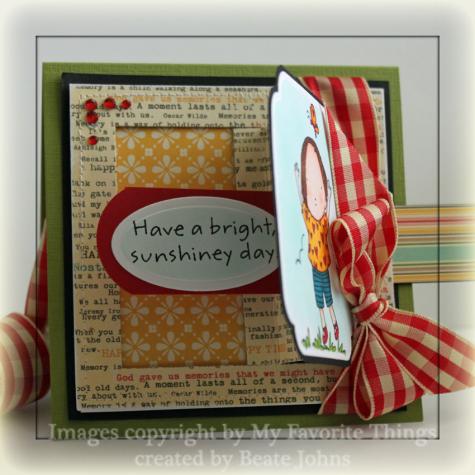
mftsummertslideopen.jpg

When pulling on a tab on the right, the image lifts up and a hidden message appears. The sentiment is from the same stamp set and stamped on Neenah Solar White cardstock in Tuxedo Black Memento Ink. It was cut with Petite Oval Nestabilities and the inside was colored with Copic B00.

Here is a video for the visual learner:
[youtube]https://www.youtube.com/watch?v=Jdqh_Z6rR8Q[/youtube]

Thanks so much for stopping by. Have a great day! Hugs and smiles

verveaccentnotesstandwide.jpg

Another VSN challenge this weekend was to create a Free Standing Pop-Up card. I always forget about this card fold and was happy to participate.

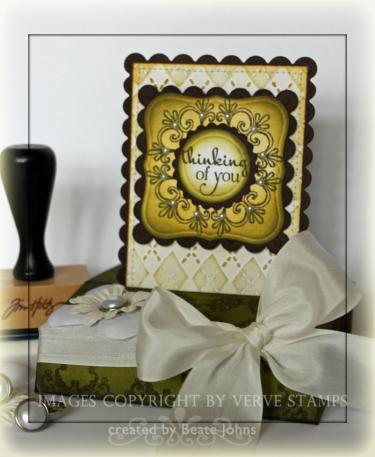
My centerpiece was cut with Long Rectangle Nestabilities out of Chocolate chip cardstock. It was cut down to 5″ and sponged with Walnut Stain Distress ink. A 2 13/16″ x 4 3/4″ piece of Whisper White cardstock was embossed with the Cuttlebug Argyle Embossing Folder and sponged with Linen Distress ink. It was stitched to the Chocolate Scallop layer.

verveaccentnotestandbeate.jpg

The medallion stamp from Verve’s Accent Notes was stamped in Forest Moss Distress ink on Whisper White cardstock. It was cut out Label 1 Nestabilities and sponged with Crushed Olive Distress ink (yes….my new Distress ink colors arrived and I absolutely LOVE them!).  The sentiment is from the same Verve set. It was stamped in Walnut Stain Distress ink on white cardstock, cut out with Circle Nestabilities, sponged with Crushed Olive and Forest Moss ink and then layered on a slightly bigger chocolate scallop circle.. The sentiment was adhered to the center of the medallion image. That layer was adhered to a scallop square that had been cut with Square Nestabilities. To finish this layer off, Hero Arts Pearls were added to the medallion. The centerpiece was adhered to the long tag with dimensionals.

The card base was created out of a 4 1/4″ x 11″ piece of Old Olive cardstock. The entire piece was stamped with one of the square images of the Accent note stamp set in Forest Moss, then sponged all around. White Satin May Arts ribbon was tied around the base and a double flower (bigger flower from Stampin’ Up!, smaller flower from Prima. Brad from Recollections) was adhered on the left side of the base.

Have a wonderful day! Thanks for stopping by! Hugs and smiles

 Here is my video tutorial for the Free Standing Pop-Up card:

[youtube]https://www.youtube.com/watch?v=wzeqvwyxyss[/youtube]

tediscoverwingseaselwide.jpg

I created this card for the Easel card tutorial , which ran two weeks ago on SCS. I apologize again for being horrible at keeping up with my blog right now. I don’t know why I can’t get my act together.

tediscoveryourwingseaselbea.jpg

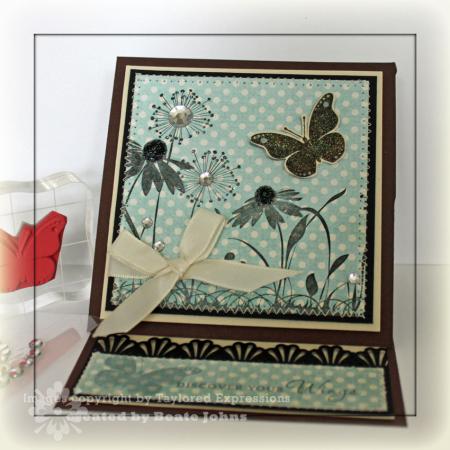
 The image is from Taylored Expressions Discover Your Wings. It’s such a beautiful set. It was stamped in Black Soot Distress Ink on a 3 1/2″ square of Bo Bunny Kitchen Spice paper. It was stitched to a 3 11/16″ square of Black cardstock. A small hole was punched on the lower left hand corner and Kraft Taffeta Ribbon was tied through both layers. Then those layers were adhered to a  3 15/16″ square of Natural Ivory Cardstock before attaching it to the Chocolate Chip card base.

To spruce up the image Black Diamond Stickles was added to the top of the cone flowers, Kaiser Clear Rhinestones to the Dandilion tops. The butterfly is from the same stamp set. It was stamped in Black Soot Distress ink and embossed with Iridescent Ice Embossing Powder.

For the inside layer a black strip was punched with Martha Stewarts Deco Shell Border punch. A 7/8″ x 3 13/16″ strip of designer paper was stitched to the layer and stamped with images from Discover your wings.

Here is a video for the visual learner:

[youtube]https://www.youtube.com/watch?v=7QPHOkRukeQ[/youtube]

We have a winter storm warning for today and part of tomorrow and expecting snow! If you are in my area, stay save and warm! Have a wonderful day! Hugs and smiles
 

christmaswiperwide.jpg

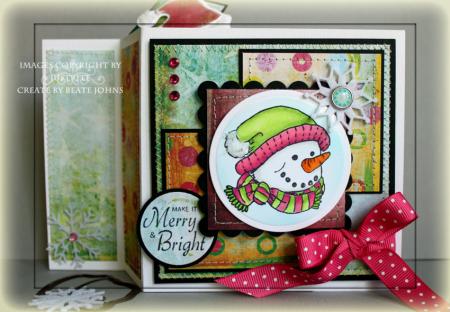
I worked ahead this week and already made this card on Monday as my entry for the Technique Challenge, which was to create a Wiper card.

I haven’t made a square one before, so it was perfect to use the sketch with the challenge. As my main image I chose this cute stamp from JustRite’s Old Fashioned Christmas set. Frosty was stamped in Tuxedo Black Memento Ink on Gina K’s Pure Luxury White cardstock, cut out with Circle Nestabilities and colored with Copic Markers (RV13, RV14, RV17, YG01, YG03, YG05, W1, YR04, YR07) and airbrushed with Copic Marker B000. White Flower Soft was added the to the pompom on the hat.

christmaswipertlc243beate.jpg

My card base consists of two 4 1/2″ x 7 1/2″ pieces of Textured Whisper White cardstock scored at 1 1/2″ and 3″. A 3 3/4″ square of Fancy Pants Happy Holidays Patterned paper was sewn to a 4″ Black square. The three smaller patterned paper squares measure 2 5/16″ and are from the same paper pack. They two outer ones were layered on a 2 7/16″ black cardstock square, the one in the middle on a scalloped black square that had been cut with Square Nestabilities.

Melon Mambo dotted ribbon was tied around the big square layers before the smaller square were adhered. A retired felt snowflake from Stampin’ Up! with a My Mind’s Eye Brad in it’s center was added to the top right corner of the main image. Three little pink rhinestones filled the left top corner.

For the sentiment I chose another JustRite stamp from the Merry Little Christmas set. It was stamped in Tuxedo Black Memento ink directly on Fancy Pants patterned paper, punched out with a 1 1/4″ circle punch. It was layered on a 1 3/8″ black circle and adhered to the bottom left of the main image.

christmaswiperpopup.jpg

My wiper pop up image was a little Santa hat cut out with Spellbinders Holiday Cheer die. It was cut out twice, once out if White cardstock, once out of red/pinkish patterned paper from the Happy Holidays Paper pack. I cut the red center out, sanded it a bit and taped it to the white layer. White Flower Soft was added to the rim and pompom of that hat.

You can find the step by step tutorial for wiper cards on Splitcoast. Here is the video for the visual learner:

[youtube]https://www.youtube.com/watch?v=SDrn0UG2Bto[/youtube]

I am sorry I was so quiet over the weekend. Saturday I received the first Season of Eli Stone. I love that show and am sad it won’t come back this year. Austin and I watched the entire first season on Saturday. Sunday we had a cold front come in and with it came a nasty migraine. Yesterday was the first day of school for my smaller two and a BIG cleaning day for me.

I was excited to have all morning to play and checked out the Color challenge  right after my (super fast) walk. Kraft, Chocolate and Real Red sounded like another Christmas Color combo to me, especially since I had just received JustRite’s Old Fashioned Christmas the day before.

oldfashionedchristmas233clo.jpg

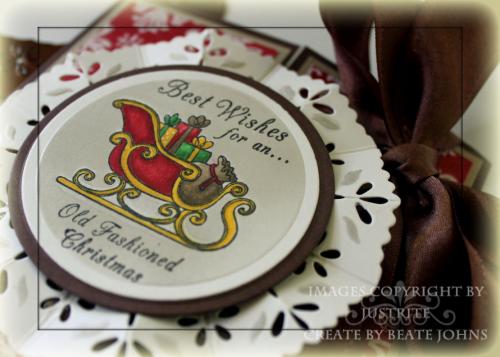
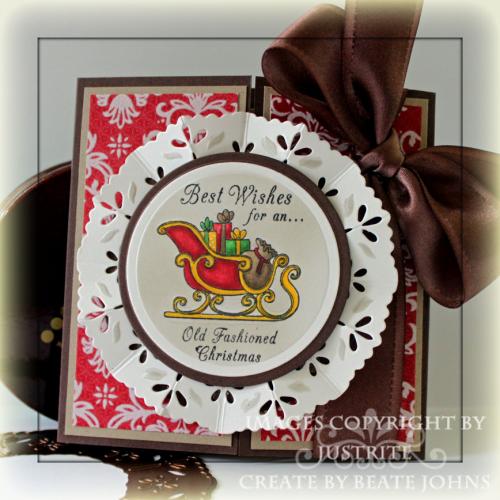
I started by stamping the image in Black Memento Ink on Shimmery White cardstock. It was cut with Circle Nestabilities, Air Brushedwith W1 Copic Marker and then colored with Copic Markers (Browns: E43, E44, Yellows: Y18, Y26, Green: YG06, G07, Red: R22, R27, R29). Next it was layered on a slightly bigger Chocolate chip circle, then on a ruffled base made with Eyelet Shapeabilities. Check the bottom of this post if you are interested in how I created the ruffled base.

oldfashionedchristmascc233b.jpg

My card base is a 4 1/4″ x 8 1/2″ piece of Chocolate chip. I was scored and folded at 2 1/8″ and 6 3/8″ to create a Gate Fold Card. The Kraft cardstock measures 1 15/16″ x 4 1/16″ and the Christmas Cocoa Specialty Paper measures 1 3/4″ x 2 7/8″. The ribbon is from last years Holiday Mini catalog. I love that Satin ribbon.

oldfashionedchristmasinside.jpg

The inside of the card matches the outside. I layered the Specialty paper on Kraft cardstock layers.

Here is a video for visual learners:

[youtube]https://www.youtube.com/watch?v=RDwUOt4b9R4[/youtube]

Check the next page if you want to see how I created the Ruffled base for my image.

Continue reading »

Bonnie Szwalkiewicz created this wonderful fold tutorial first for her blog, then it became a Technique Challenge on SCS and now she wrote the tutorial for SCS as well. It’s a fun fold for special occasions.

beautifulkindnesstrishutter.jpg

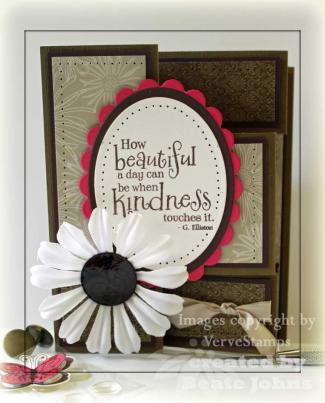
My card base is a 5 1/2″ x 12″ strip of textured Soft Suede Cardstock.

It was scored at 2″, 4″, 8″ and 10″. Turn the paper, line it up at 1 1/2″ in your paper trimmer and cut from 2″ to 10″. Move your cardstock to the 4″ mark and cut again from 2″ to 10″.

Next I cut Chocolate chip cardstock 1/4″ smaller then each panel. The designer paper is from Thoroughly Modern Designer Paper pack and was cut 3/16″ smaller then the Chocolate Chip cardstock. Before I taped the cardstock/designer paper layers to the card base, I added some paper piercing.

The sentiment is from the Verve Stamp set “Beautiful Kindness“. It was stamped in Chocolate Chip on Shimmery White cardstock, cut out with Oval Nestabilities and then layered first on a slightly larger Chocolate Chip Oval, then on a Melon Mambo Scallop Oval.  A paper pierced border was added to the Shimmery White layer.

beautifulkindnessflowercent.jpg

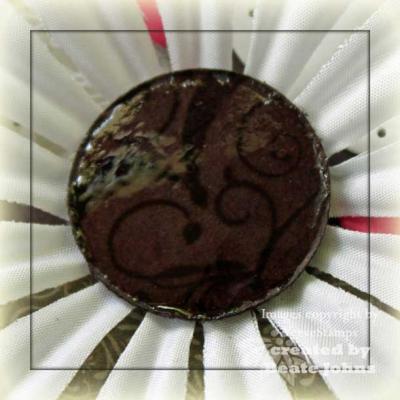
 The center of the Pretties Kit flower is a 1″ Chocolate chip circle. It was stamped with the small butterfly from Beautiful Kindness. The edges were sponged and distressed and a thick layer of Crystal Effect was added. Once it was dry the circle was added to the flower with dimensionals and the flower was adhered to the card with dimensionals as well.

 beautifulkindnessopenbeate.jpg

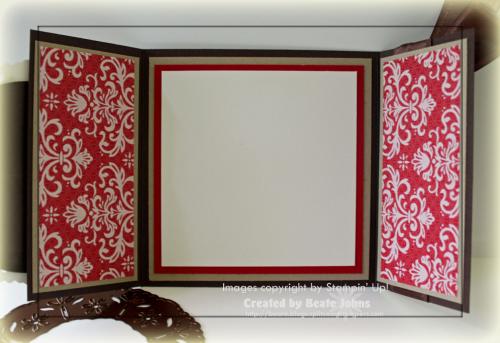
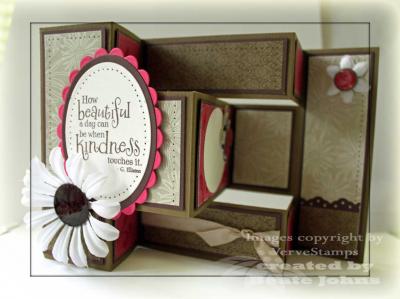
The inside panels are all decorated with Chocolate Chip cardstock and Thoroughly Modern Designer Paper. The center panel has a smaller oval to write the message with a layered Verve Butterfly on the top right. The outer strip holds a smaller flower from the Pretties kit with an Antique Brass Build a Brad in it’s center.

I hope you play with this fun and easy card. The hardest part of this card is to decide which patterned paper you want to show off.

And if you are a visual learner, check my second (ever) video tutorial. I even figured out how to upload a better quality to youtube. 

[youtube]https://www.youtube.com/watch?v=su-3T3sd4r0[/youtube]

 Have a wonderful day! Hugs and smiles 

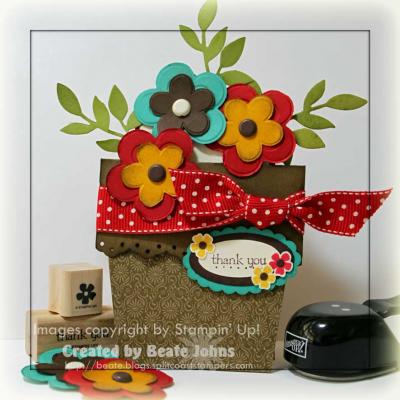
Today’s tutorial on SCS is written by Stephanie Luman and is for the Flower Pot Pocket card.

It’s easy and oh so cute! If you haven’t tried it out, what are you waiting for?

forallyoudoflowerpotbeate.jpg

My Flower Pot base is Soft Suede cardstock.

The flap edge was punched with the Eyelet Border Punch and the entire flap was sponged with Soft Suede ink.

The lower part of the Pot is covered with Thoroughly Modern Designer Paper. Polka Dot Red Ribbon was tied around the flap.

 The sentiment is from For All You Doand is stamped with Chocolate Chip on Very Vanilla cardstock. It was punched out with the small oval punch, layered first on a sponged Chocolate Chip large oval punch-out, then on a Bermuda Bay Scallop Oval. I underlined the sentiment with a paper pierced row and added three little flowers. They had been stamped in Crushed Curry and Real Red, cut out and topped with a tiny Chocolate Chip Circle I had punched out with the Double circle punch (retired).

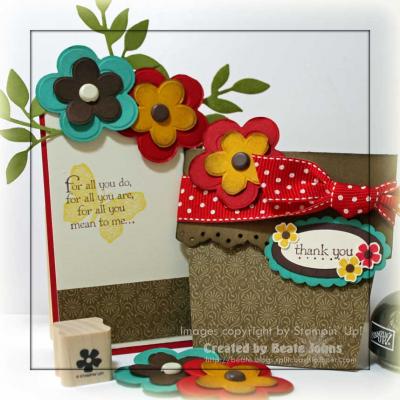
forallyoudoflowerpotinsideb.jpg

The flowers were punched with the Embosslit Cherry Blossom, the branches with the die cut Little Leaves.

I punched two for each flower, cut the center out, sponged both of them and added 5/16″ brads in each center.  The branches were taped on with Scor-Tape, the flowers with dimensionals.

The first layer of the insert is a 2 1/2″ x 4 1/2″ piece of Textured Real Red cardstock, layered with a 1/4″ smaller piece of Very Vanilla. A 7/8″ x 2 1/4″ piece of Thoroughly Modern DP was added to the bottom of the insert to tie it in with the front.

The sentiment is also from For All You Doand is stamped in Chocolate Chip. The buttefrly from the same set was stamped in second generation Crushed Curry over it.

P.S.: If you want to see/hear my first attempt at a video tutorial for SCS, check it out here. I was very nervous and you can hear it when I talk. I hope I will get better with the following tutorials.

 [youtube]https://www.youtube.com/watch?v=ir-nDyJoGvE[/youtube].

Sorry I didn’t post yesterday. I still have some cards to show you, but I was waiting for the SCS Newsletter to come out. Then mine didn’t come at all (see, it happens to team members too. LOL) and I didn’t post.

 Yesterday we published our Product Review on Scor-Pal Products. I LOVE THEM all! I love the Scor-Pal and don’t know how to do multiple cards without them. It saves soooo much time. I LOVE the tape. I don’t like the Sticky Strip no more. That red liner is always sticking on me. Not with the tape. The liner goes in the trash can the first time you throw it there. And then there is the mat and the new Scor-Bug. That tool won’t come out until April, but it will be worth the wait. It makes quick paper pierced rows. The piercing isn’t quite as definite as with the piercer, but it only takes as long as a score to do it! LOVE it!

I am not sure if you know, but the Scor-Pal has markings for a Gate Fold Card. I wrote a quick tutorial for that for SCS. I love that! No more having to remember the measurements or having to do math to figure it out. Your gatefold will be ready to decorate in 5 seconds!

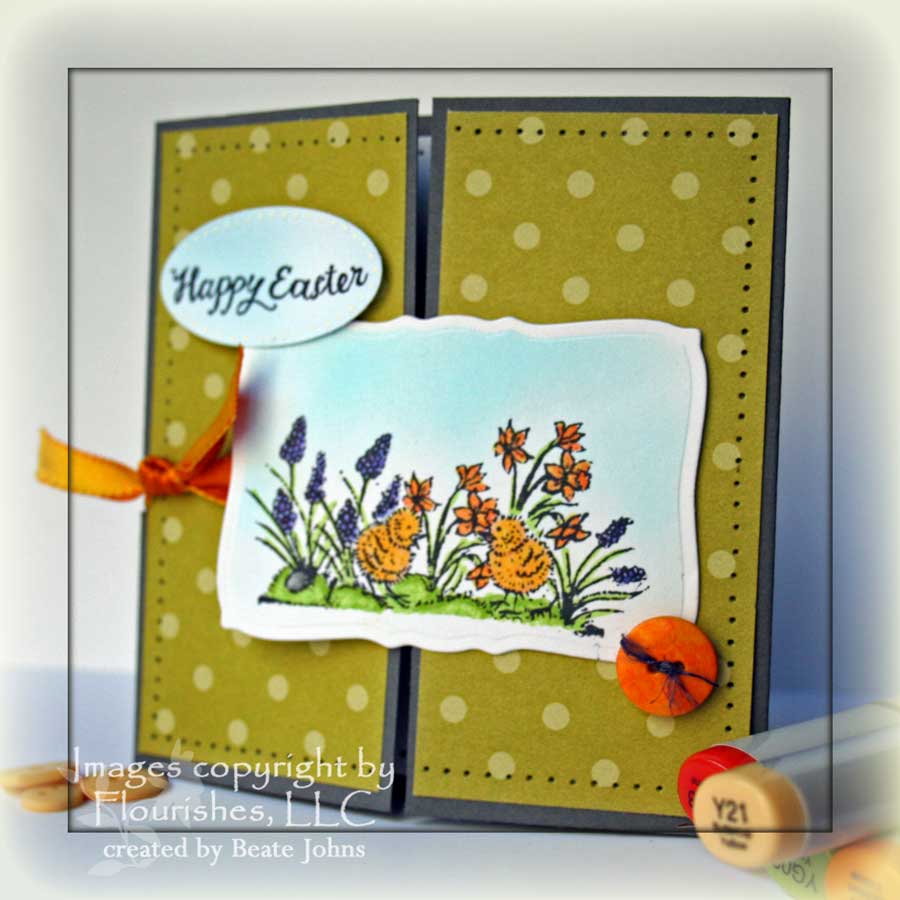
flourishesdaffodilgatefoldb.jpg

I colored the image after coming home from the Copic Class two weeks ago and really wanted to use it for this card.

The stamps are from the Flourishes set Signs of Spring. It seems to be sold out right now, or I would link to it. The little chickies come as single stamps and the flowers are in a basket. I only linked the flowers, masked the chicks and stamped the flowers behind.  The images were stamped with Memento ink on Neenah cardstock and colored with copics. It was cut out with Nestabilities dies.

After the image was cut out, I left the Nestabilities die over the cardstock and added the sky with my air brush tool. I am using cans now, but I ordered myself a compressor. I can’t wait to get that in. My poor children…air brushing is so much fun. Nothing will be save from me. LOL

The card base is a 4 1/4″ x 8 1/2″ piece of Basic Gray cardstock. The designer paper is from the Kiwi Kiss Pattern Pack.

flourishesdaffodilgatefoldi.jpg

I kept the inside pretty simple. I just added more designer paper on the sides and a 4″ Neenah square in the center.

Two more chicks were stamped and colored. The banner was stamped and cut out. A black brad was added and it was adhered to the card inside with dimensionals.

Have a wonderful weekend!

We had sunshine and warm weather here for the last three days! I snug out for a couple of hours each day to read in the sun. I can’t help myself. I love to lay in the sun like a lizard. And I better catch the rays while I can before I move up north. I am sure I won’t be layout out in a two piece in the beginning of March in Ohio. Sigh….getting used to change is hard!

Make sure to check out Jenn’s blog tomorrow morning to see the sketch for the weekend sketch challenge! It’s a good one.

I didn’t stamp all weekend. Saturday I just lounged around reading, Sunday I worked on the newsletter and future tutorials. Yesterday was cleaning day and I didn’t get to stamp until later in the evening, hence…no post from me. But, I got to work on my sample for the BIC today. Sorry about the picture. I finished late, when the sun was gone already.

I picked Going Gray, Bravo Burgundy, Pink Pirouette and White from the scarf.  I had planned to use Eggplant, but didn’t have Designer paper for it. So I switched it with Burgundy (That’s a valid reason, right?)

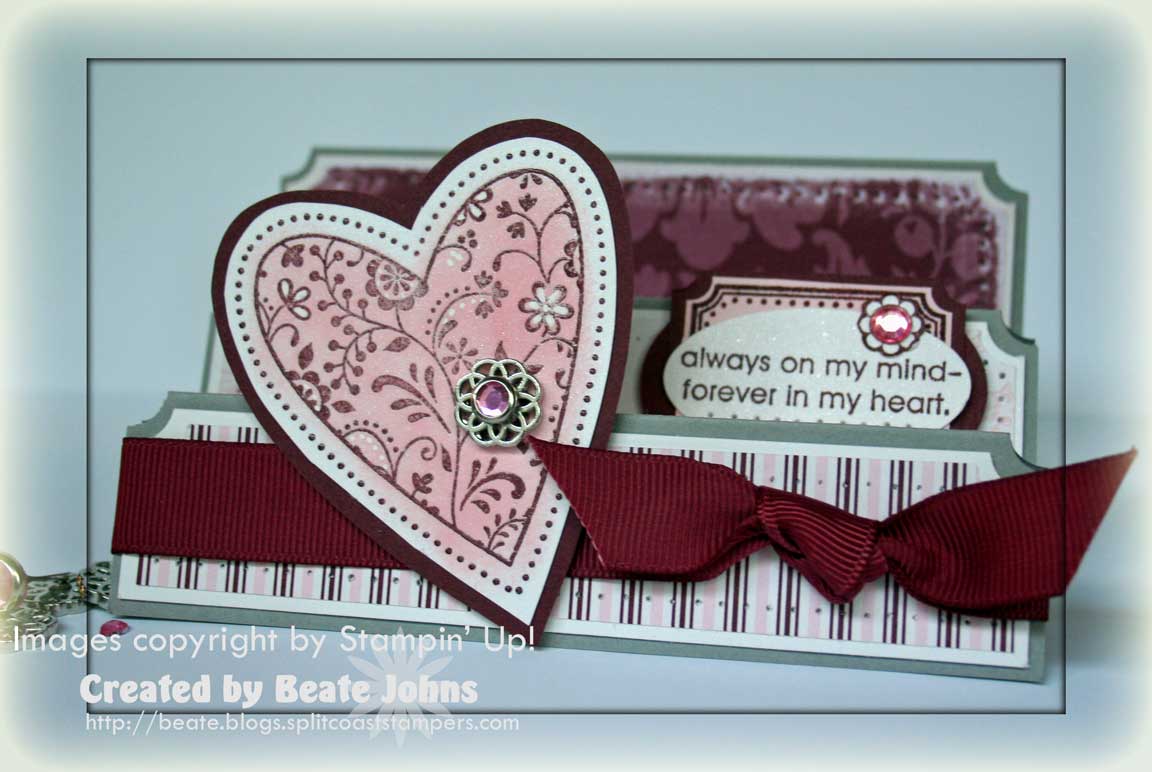
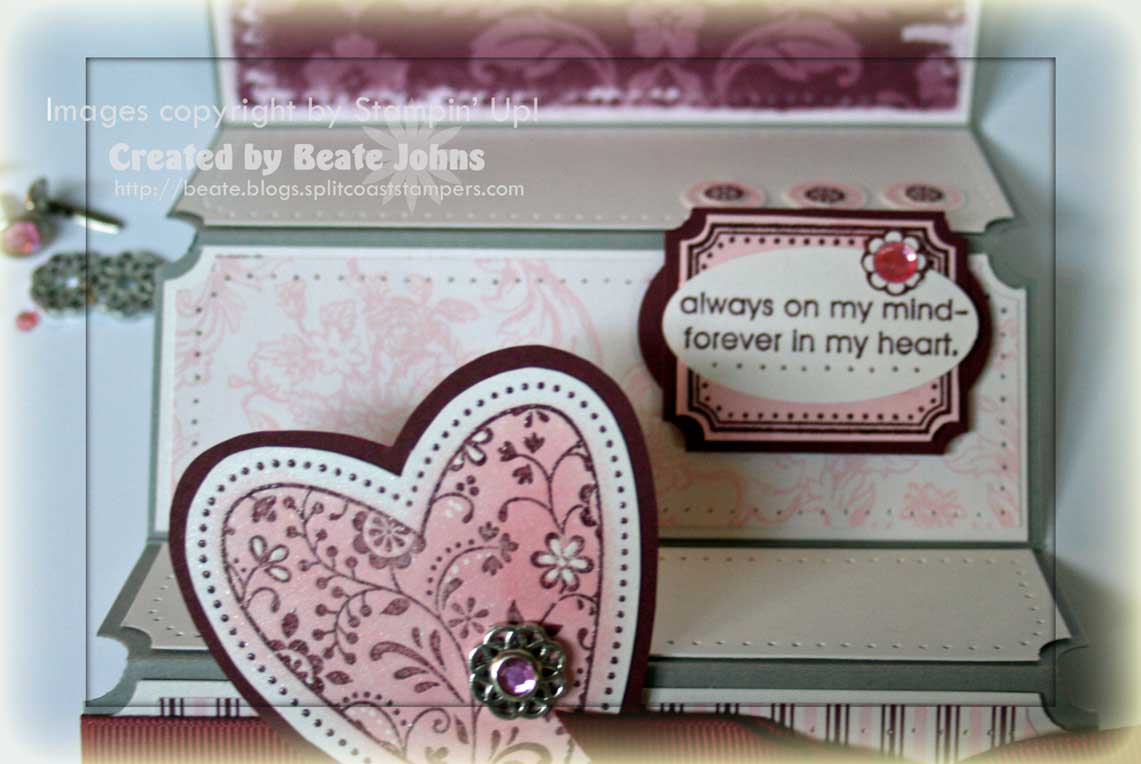
alwayspirouetteheartbic27tlc190beate.jpg

My card base is a 5″ x 10 1/2″ piece of Going Gray cardstock scored at 1 1/4″, 2 1/2″, 4 1/4″, 6″ and 8 1/4″ and folded in mountain valley style. Each top corner was punched with the ticket corner punch.

Each fold (except for the back) has a Shimmery White layer, the front facing sides were layered with an even smaller Parisian Summer Designer Paper strip. Each layer was paper pierced and each top corner punched with the ticket corner punch before it was adhered to the Gray card base. The back layer was sanded with the sanding block. 5/8″ wide Burgundy Ribbon was tied around the bottom layer.

I stamped the heart in Bravo Burgundy craft ink and embossed with Clear Embossing powder. I sponged Pink Pirouette over it and highlighted some areas with a white gel pen. The heart was cut out, layered on Bravo Burgundy cardstock and cut out again. I attached a Filigree Designer Brad to the heart with a Fire Circle Rhinestone brad. The heart was attached to the card with dimensionals.

alwayspirouetteheartopenbea.jpg

The sentiment was stamped with Burgundy ink on Shimmery White cardstock.

It was punched out with the large oval punch.

I stamped the rectangle frame from Frames with a Flourish in Burgundy on Pink Pirouette cardstock and cut it out.

Next I cut it in half, cut it shorter and taped it together again. That was layered on Burgundy cardstock and cut out again. Underneath I added a wide Burgundy oval. The layers were adhered together and attached to the middle layer with dimensionals.

I stamped the small flower circle in Burgundy on Shimmery White cardstock, cut it out and taped it to the top right of the sentiment. Next I took a medium size Fire Circle Rhinestone brad, took the rhinestone out and attached it to the center of the flower.

I left the panels that don’t show when the card stands up blank so a private message can be written there. I am off to drop of Rebecca to school and go for my walk.  Have a great day! Hugs and smiles

We dropped Rick off at the airport yesterday morning. That was very sad. I spend the rest of the day playing with the kids to keep them from thinking about him being gone for another four month.

Today they all walked off to school. I can’t believe my oldest started his last year of Middle School and my baby entered 4th grade. That’s just plain crazy!

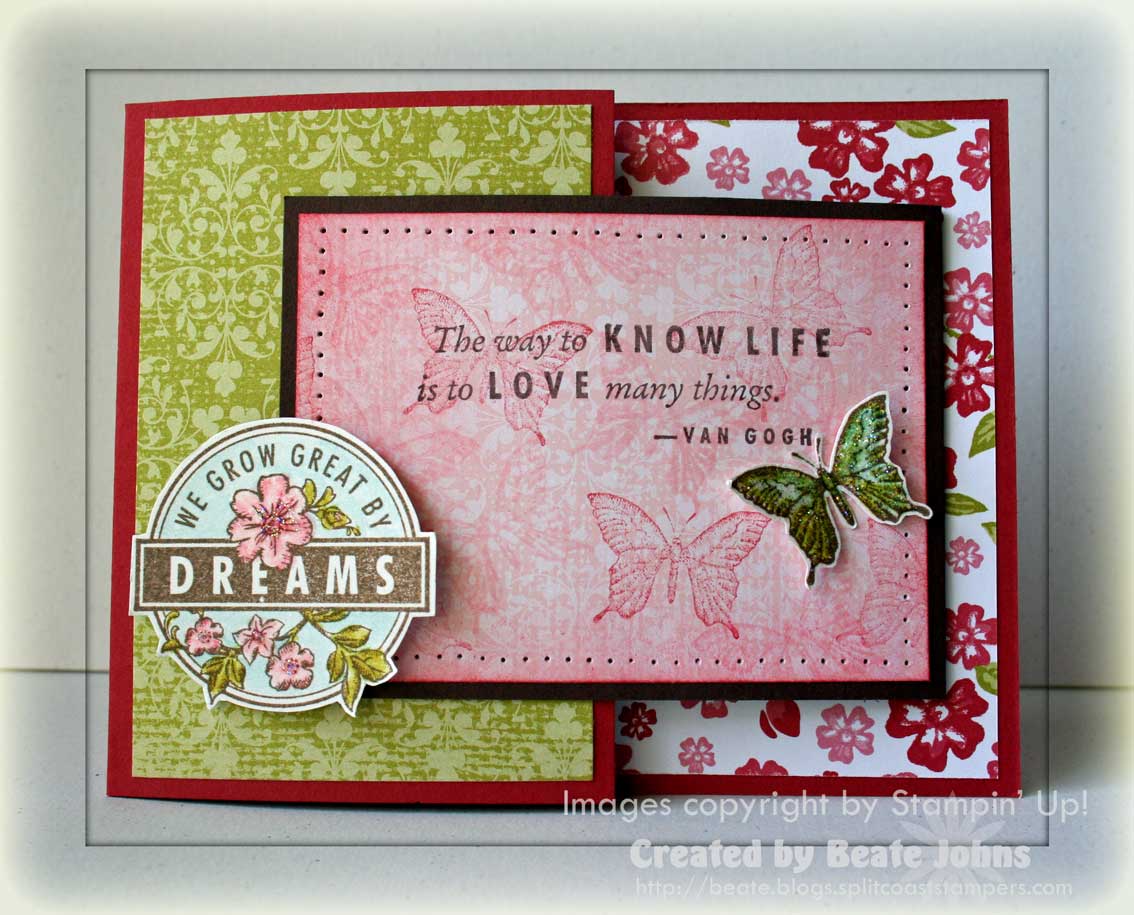
dreamsdujourjoyfoldridingho.jpg

I made this card for the Joy Fold Tutorial on SCS a while back.

Hopefully I will be posting a new sample tomorrow for my Be Inspired Challenge.

I picked the BIC image several month ago and wouldn’t you know it….it has some of the new In Colors in there.

For this card I used my the new stamp set Dreams Du Jour along with the Bella Rose Designer Paper for the first time. The card base is a 4 1/4″ x 8 1/2″ piece of Riding Hood Red cardstock scored at 5 1/2″. The smaller flap is made from a  3 ” x 8″ piece of Chocolate Chip cardstock.

You can see step by step instructions for the card in the tutorial.

I used the new In Colors and the Aqua Painter to color the images. The designer paper for the centerflap was sponged, the edges were paper pierced and the little butterfly from Dreams du Jour was stamped on it.

© 2012 fresh & fun Suffusion theme by Sayontan Sinha